This tutorial will guide you through using the Workflow Builder within FileForge to create and run automated workflows. You will learn how to build a workflow that processes files and exports data for AI applications.
1. Select Workflow Builder Tool
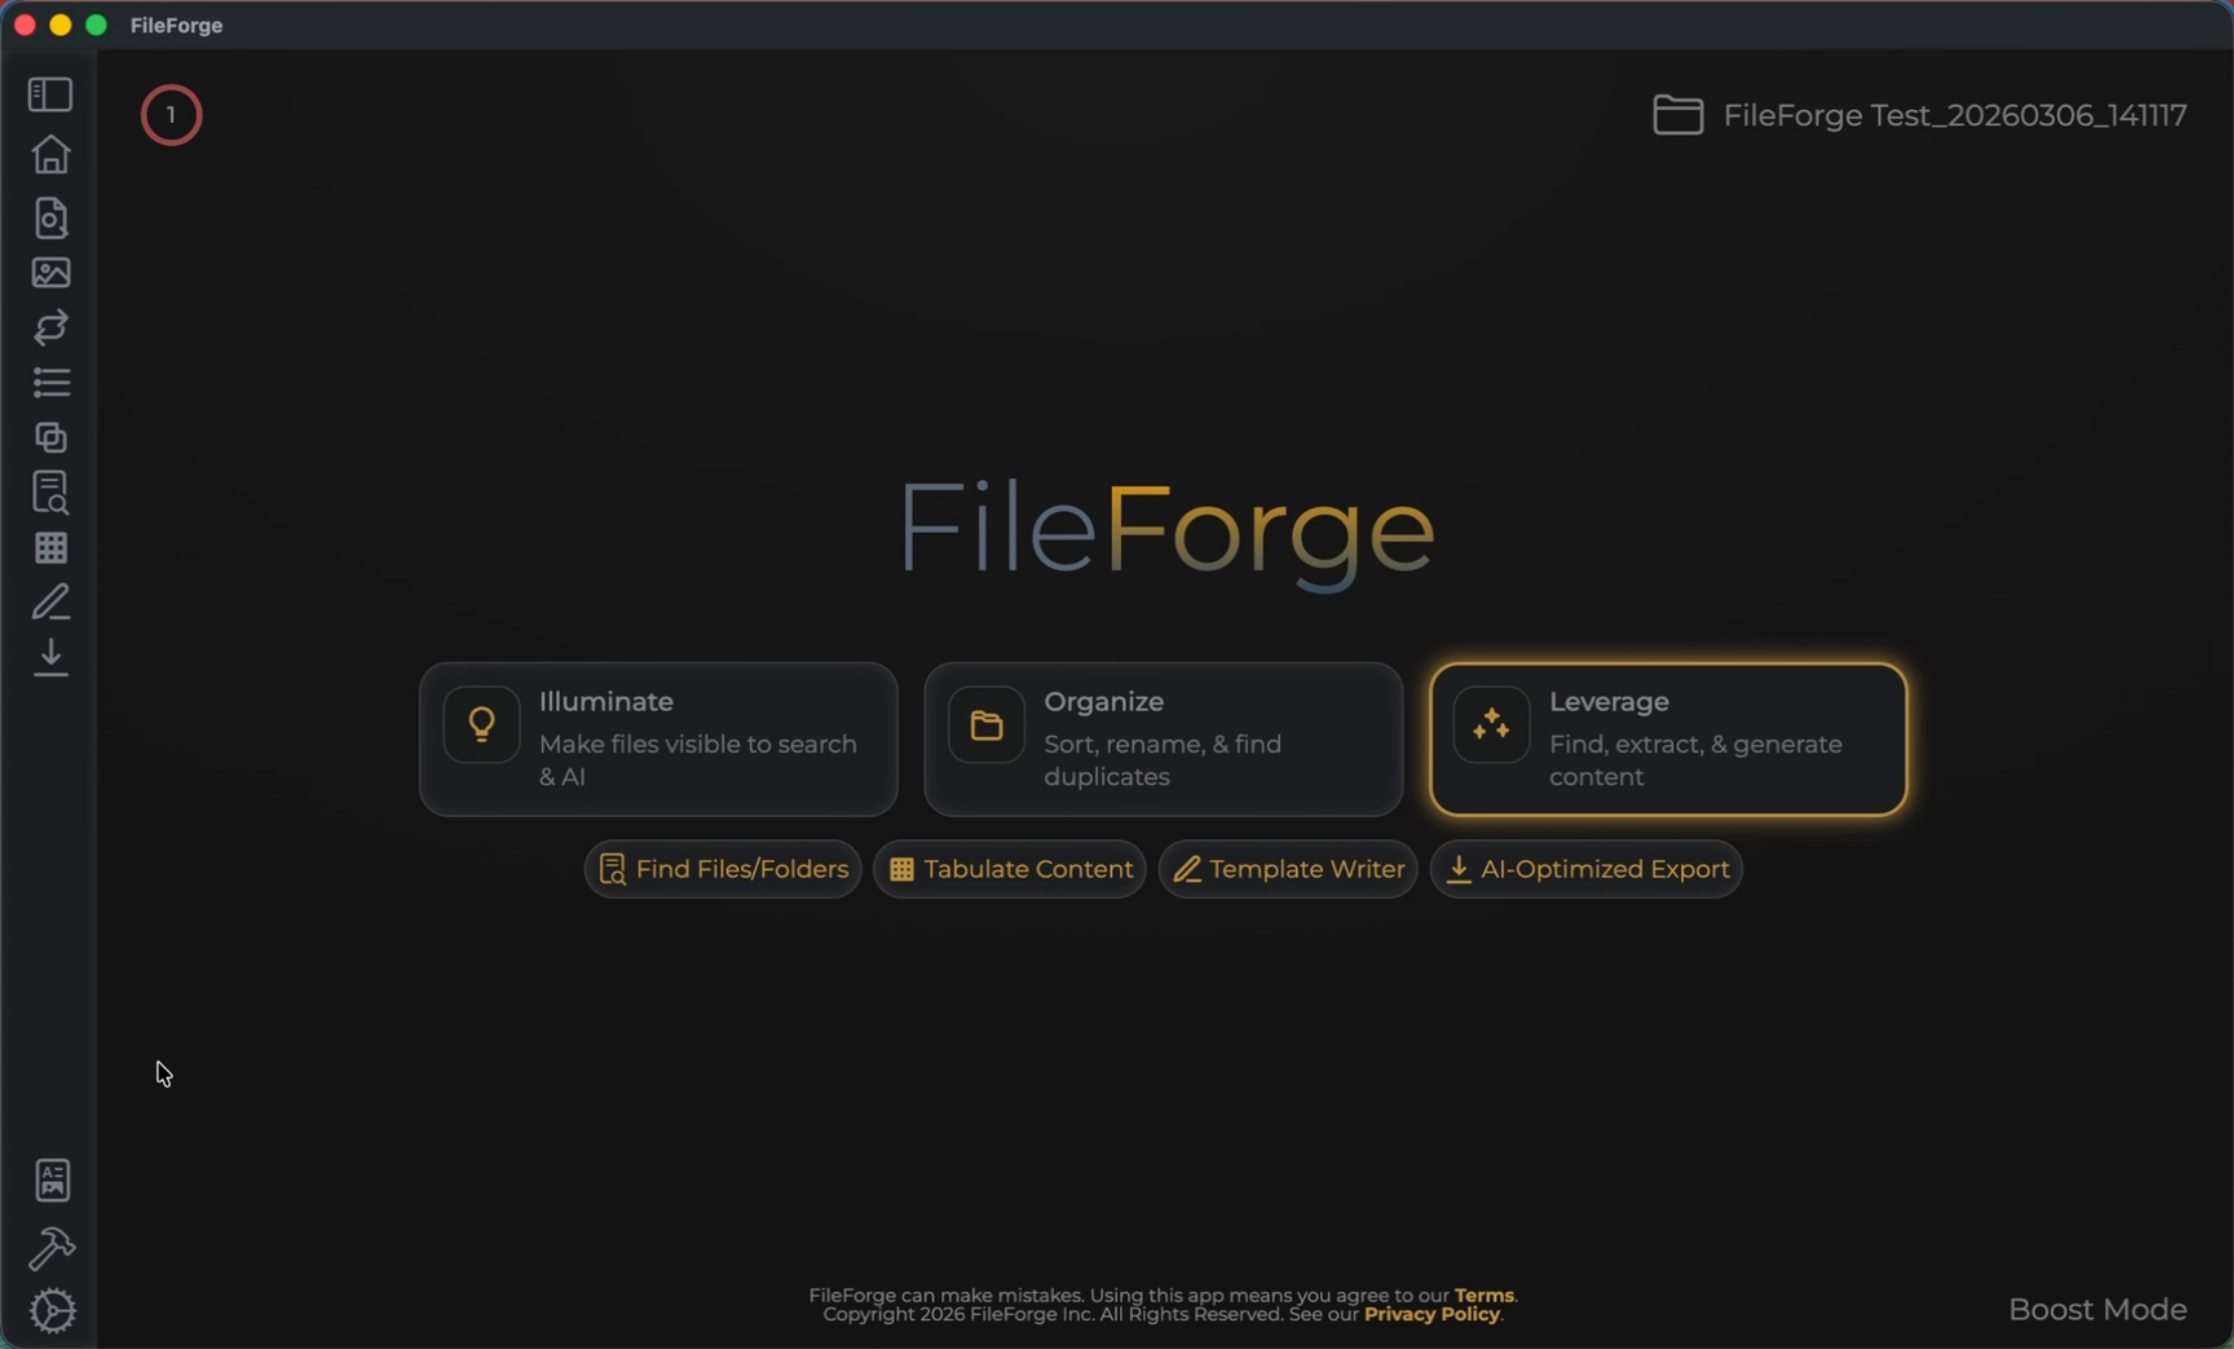
To begin this process, select the Workflow Builder tool from the menu bar on the bottom left.
2. Start New Workflow Creation
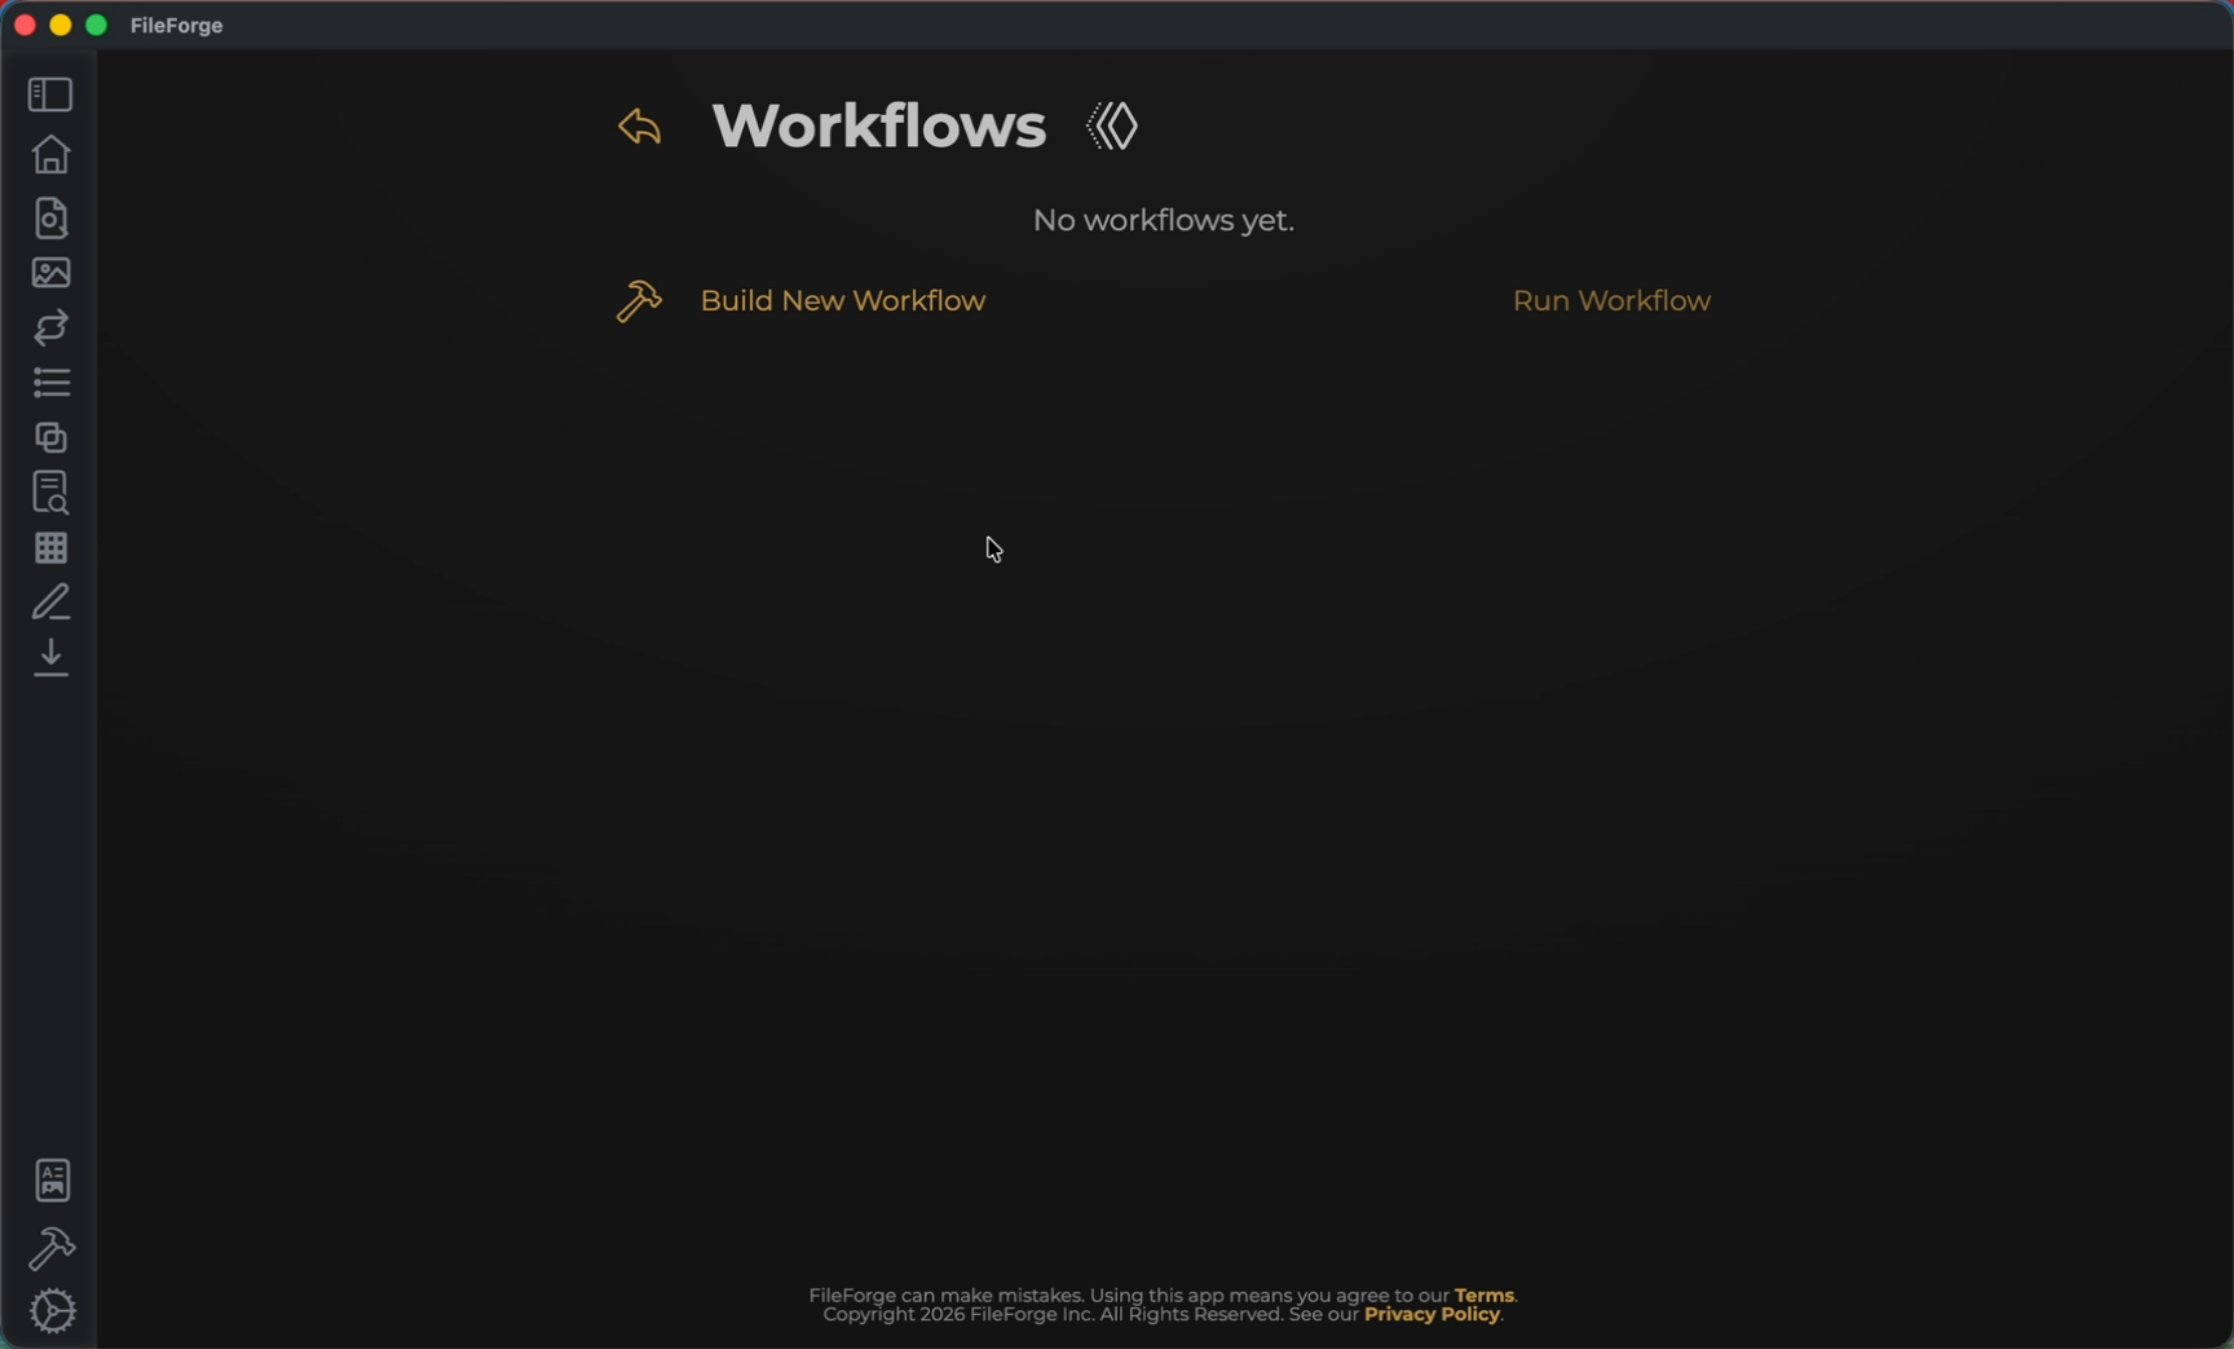
Begin by selecting Build New Workflow.
3. Add First Workflow Step
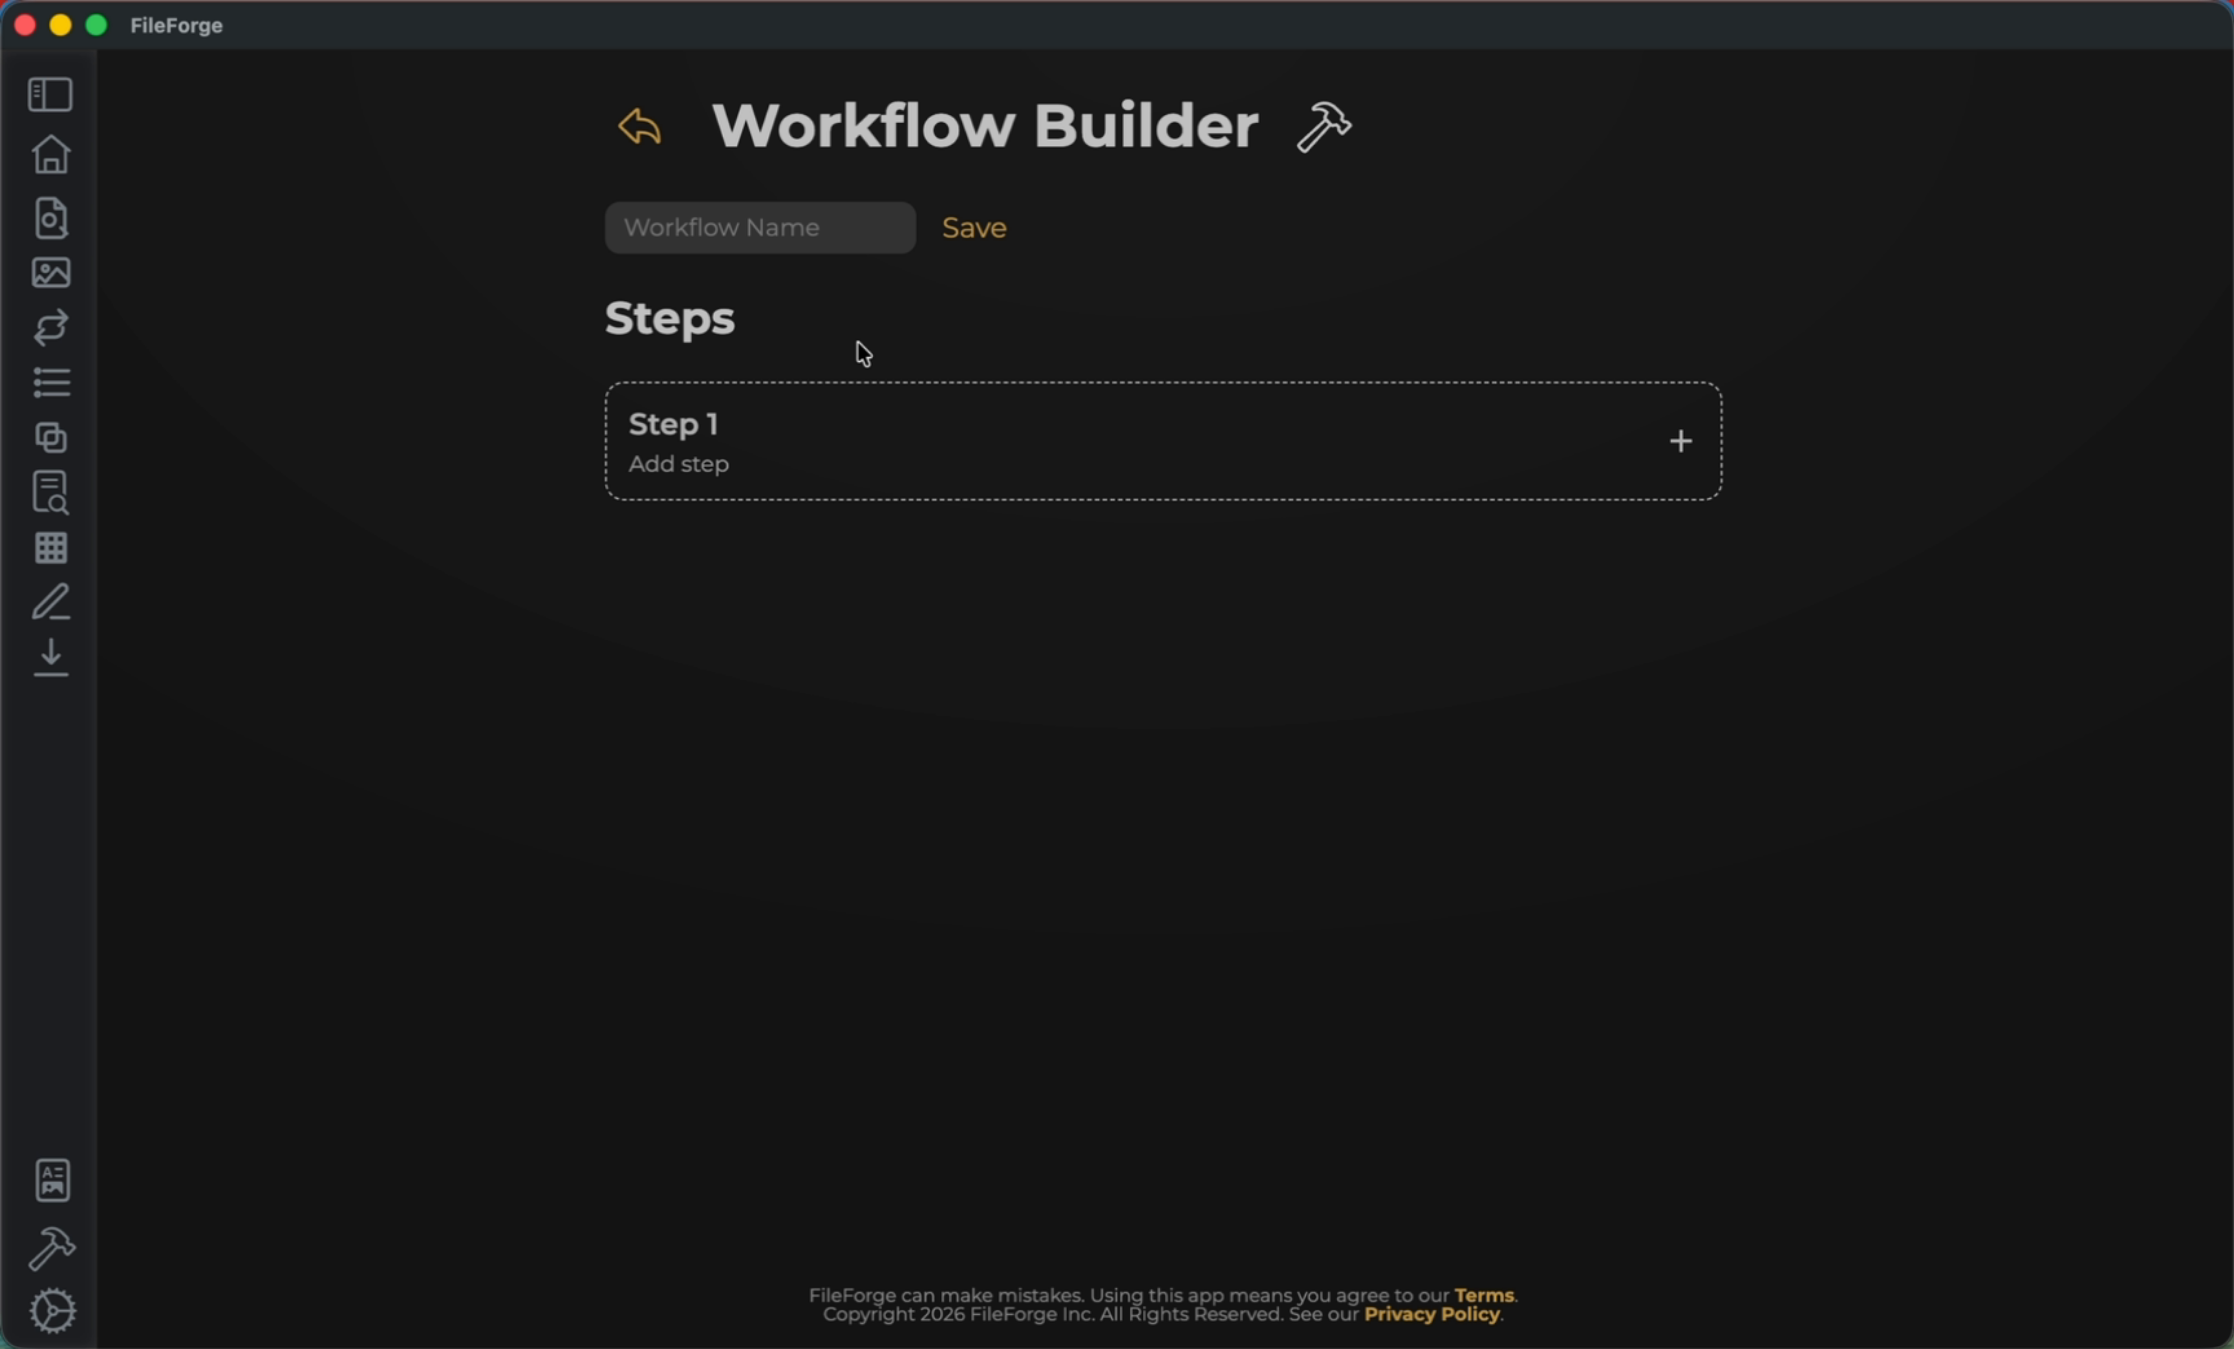
Select Step 1 to add your first step.
4. Make PDFs Searchable
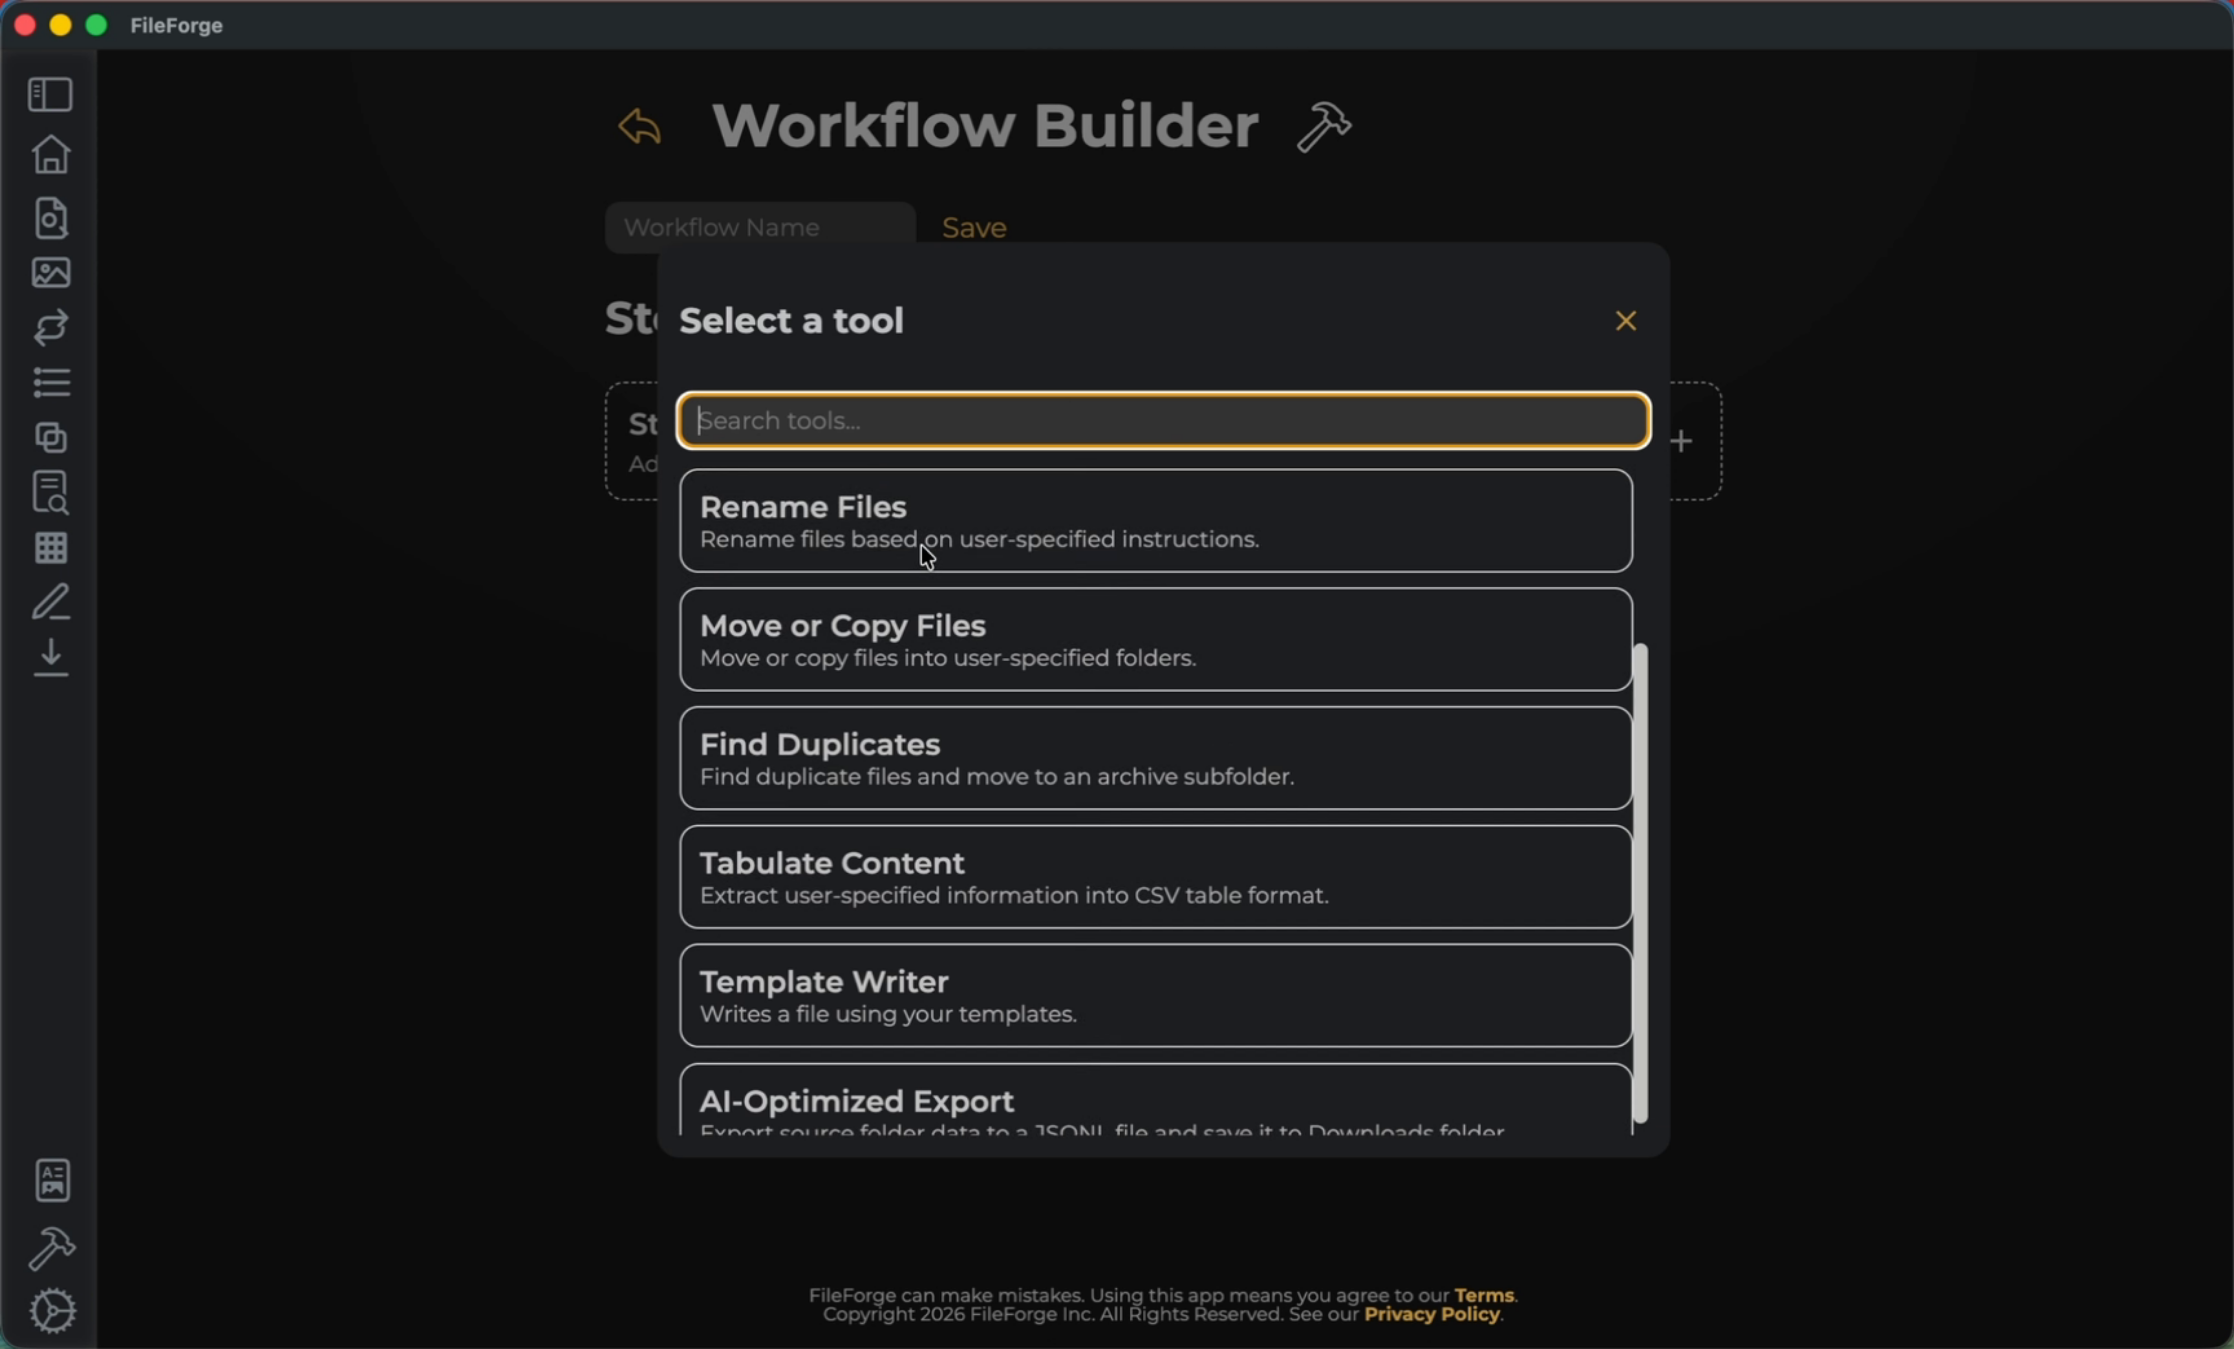
Select a tool. In this example, I will select Make PDFs Searchable.
5. Add Image Searchable Step
Step two that you can add is the ability to Make Images Searchable.

6. Add Image Search Step
For Making Images Searchable, you can add instructions into the prompt and save them.

7. Add AI-Optimized Export Step
The last example step to add is an AI-Optimized Export.
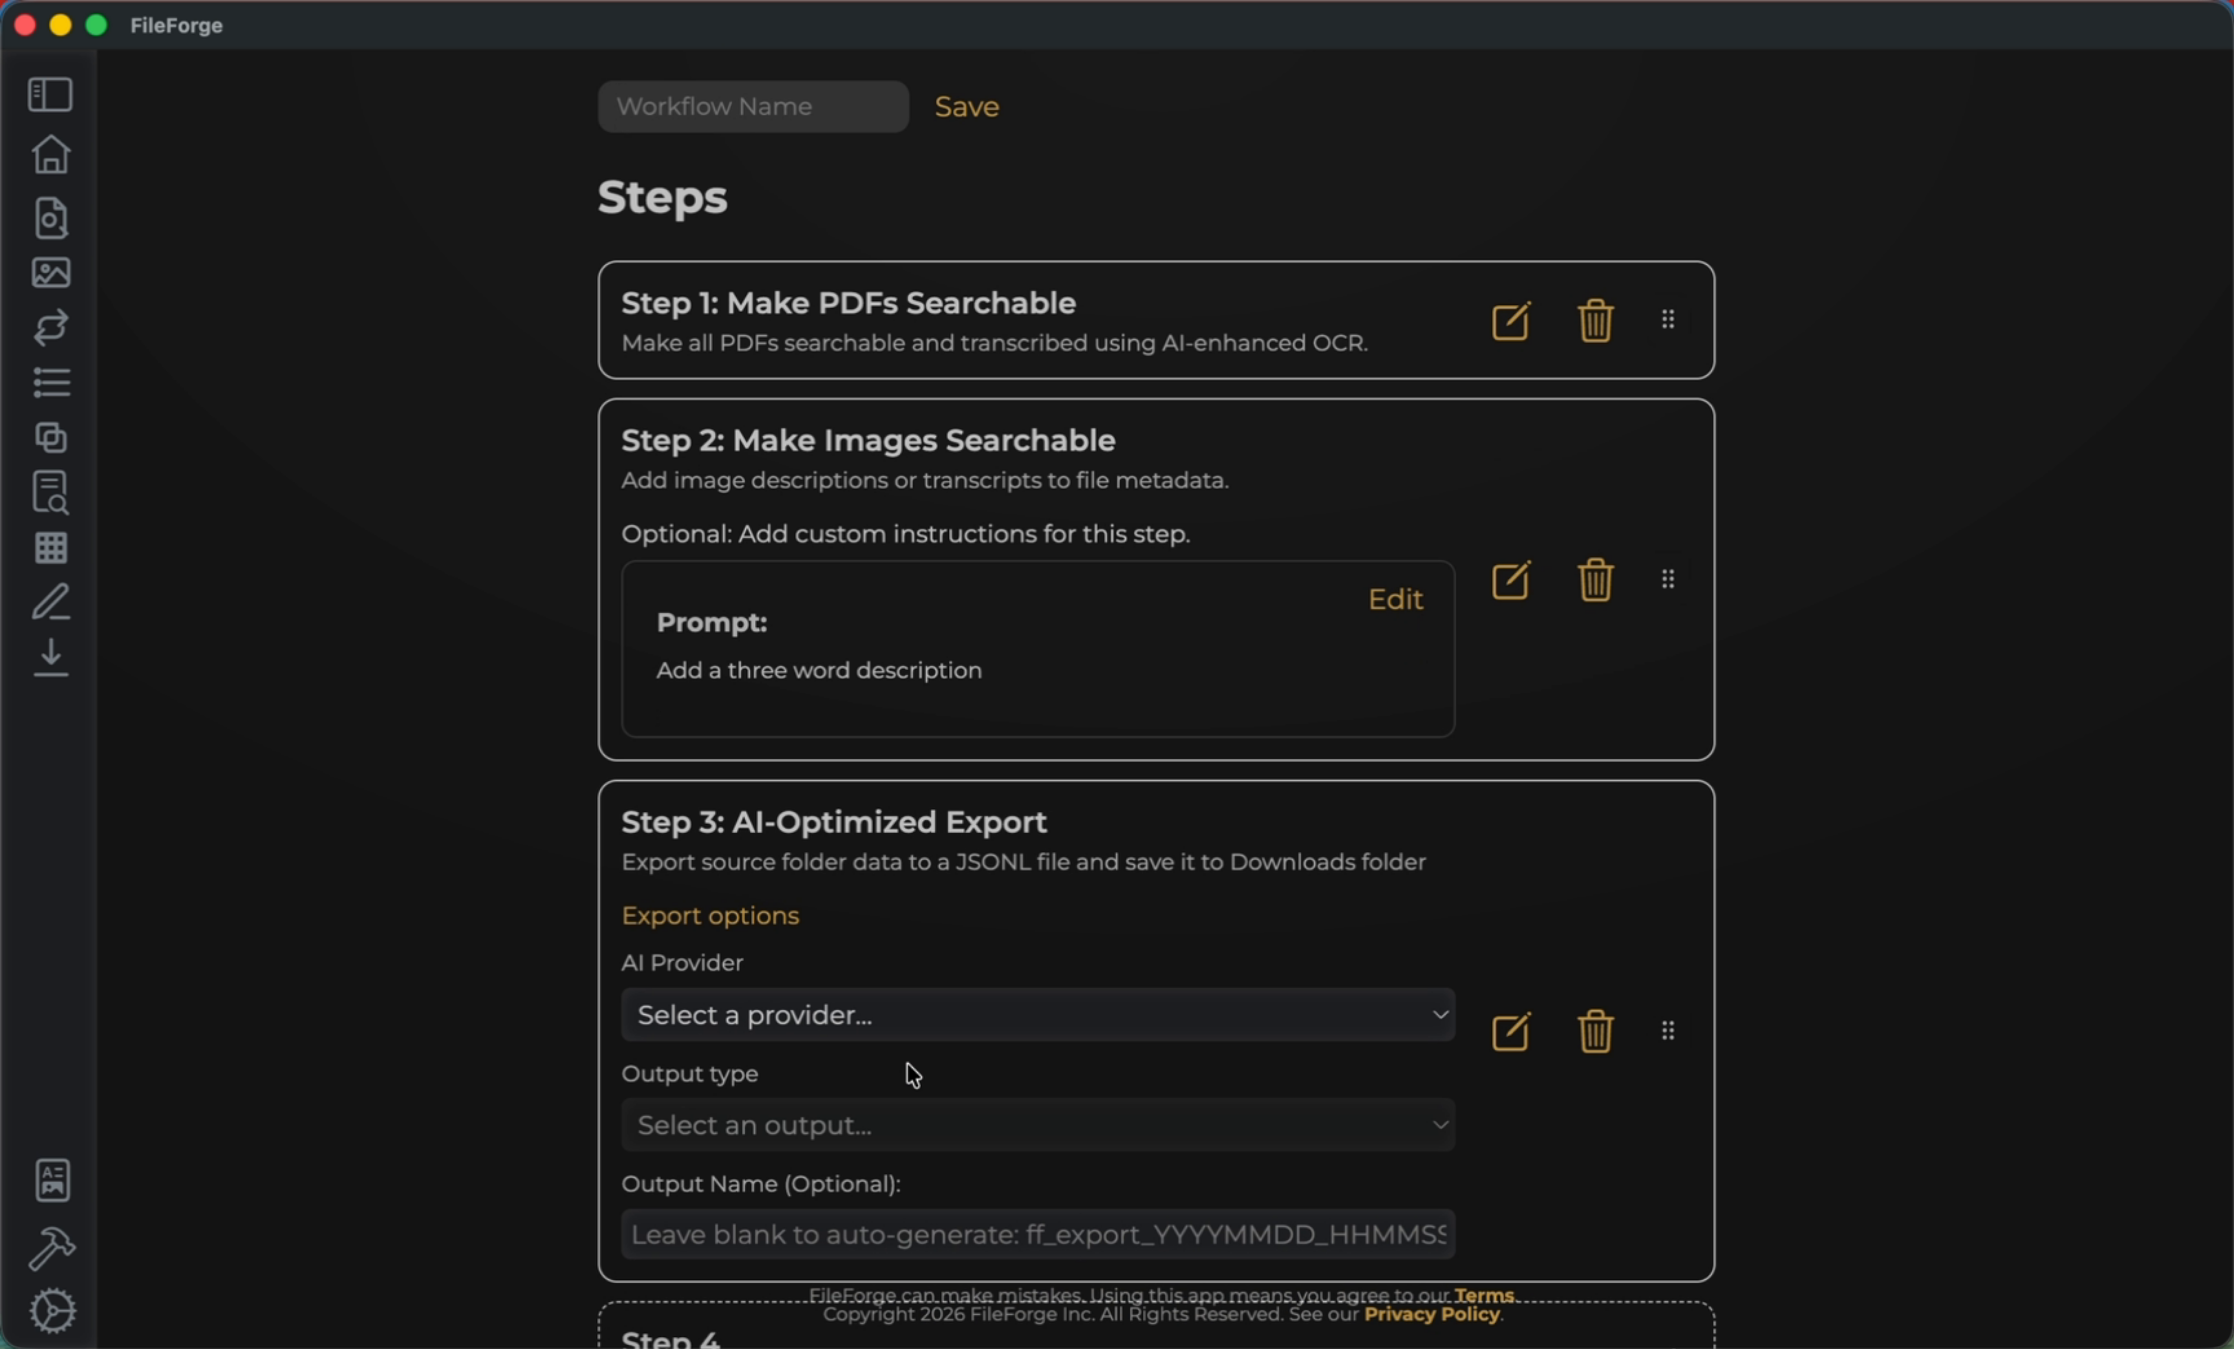
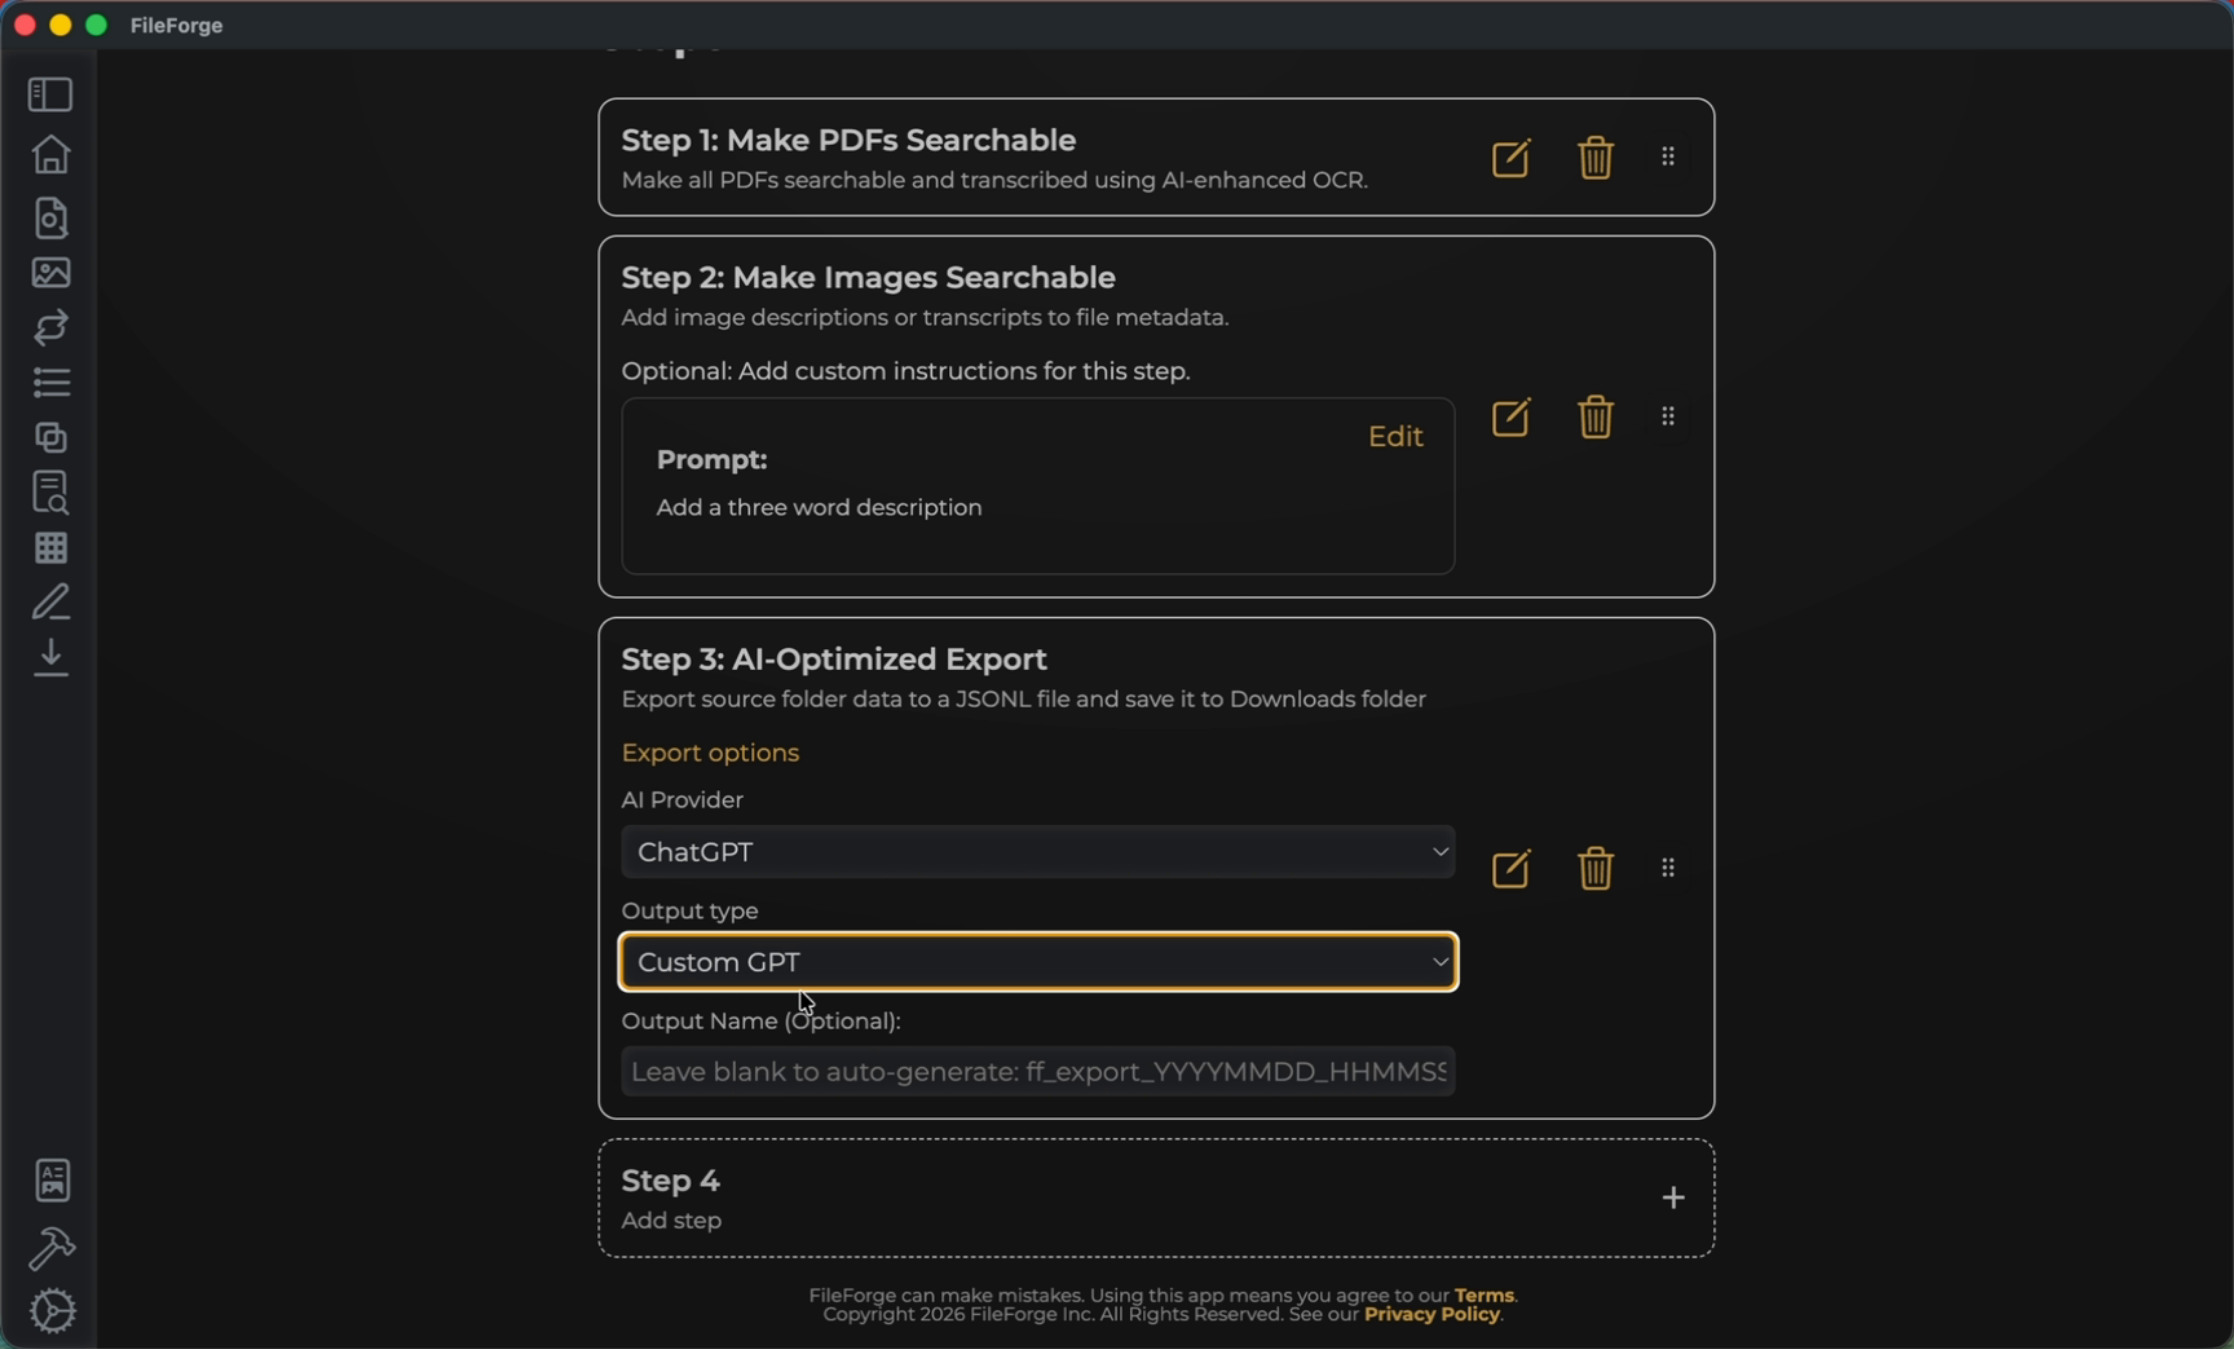
8. AI-Optimized Export Details
Select your AI provider and output type.
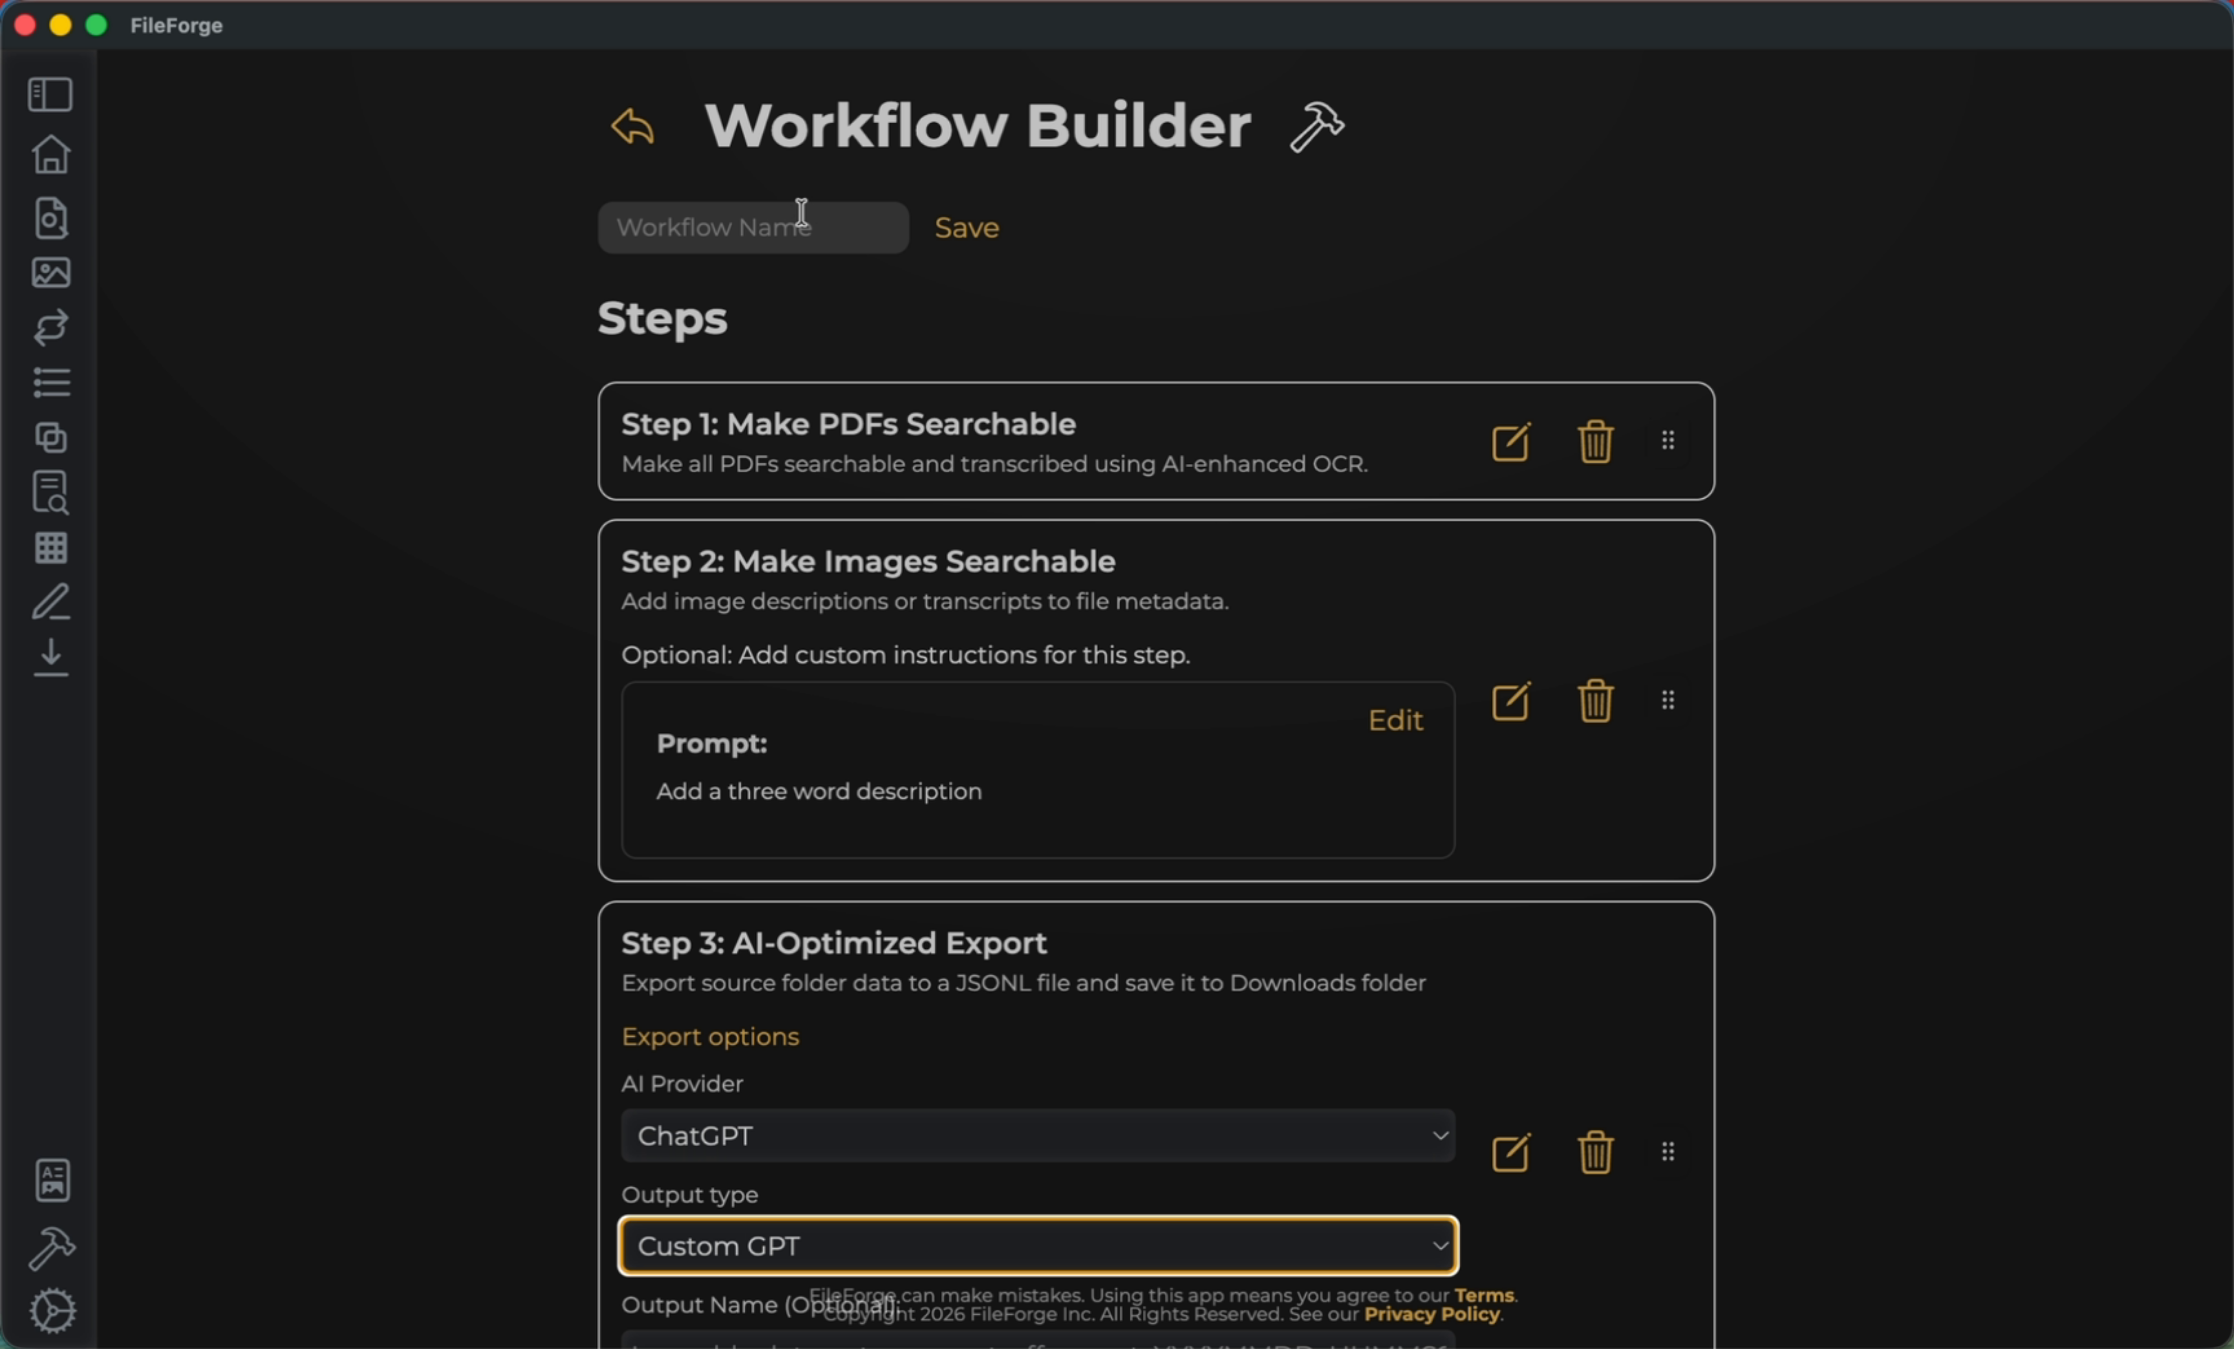
9. Name and Save Workflow
Name your Workflow and then Save.
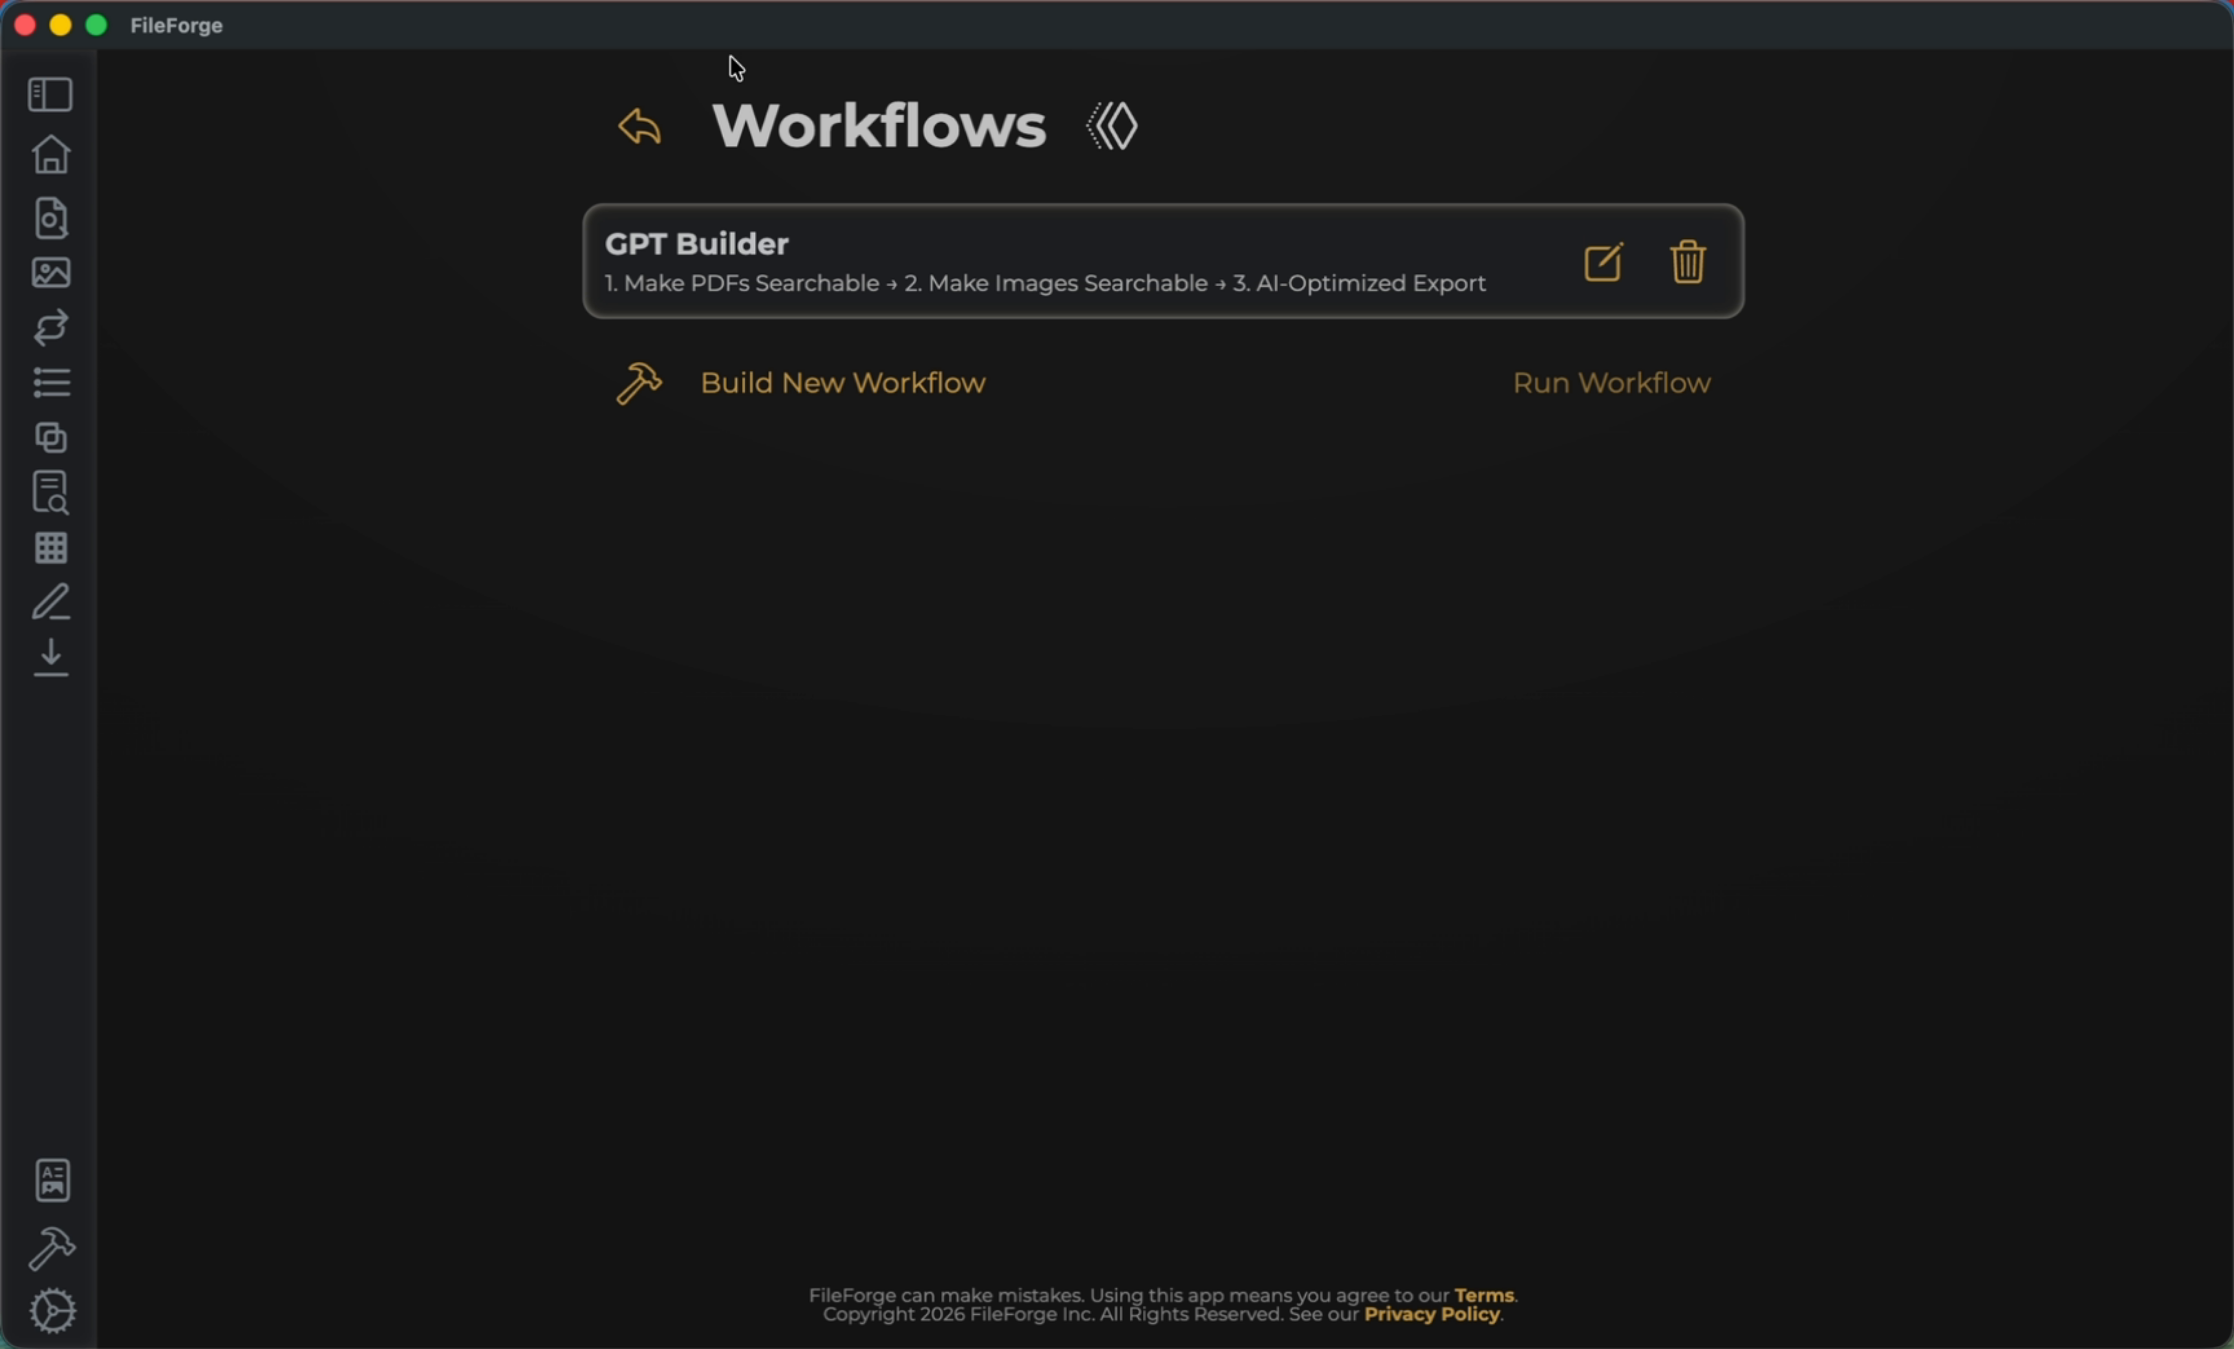
10. Run Workflow Execution
Select your workflow and then select Run Workflow to run through the three steps.
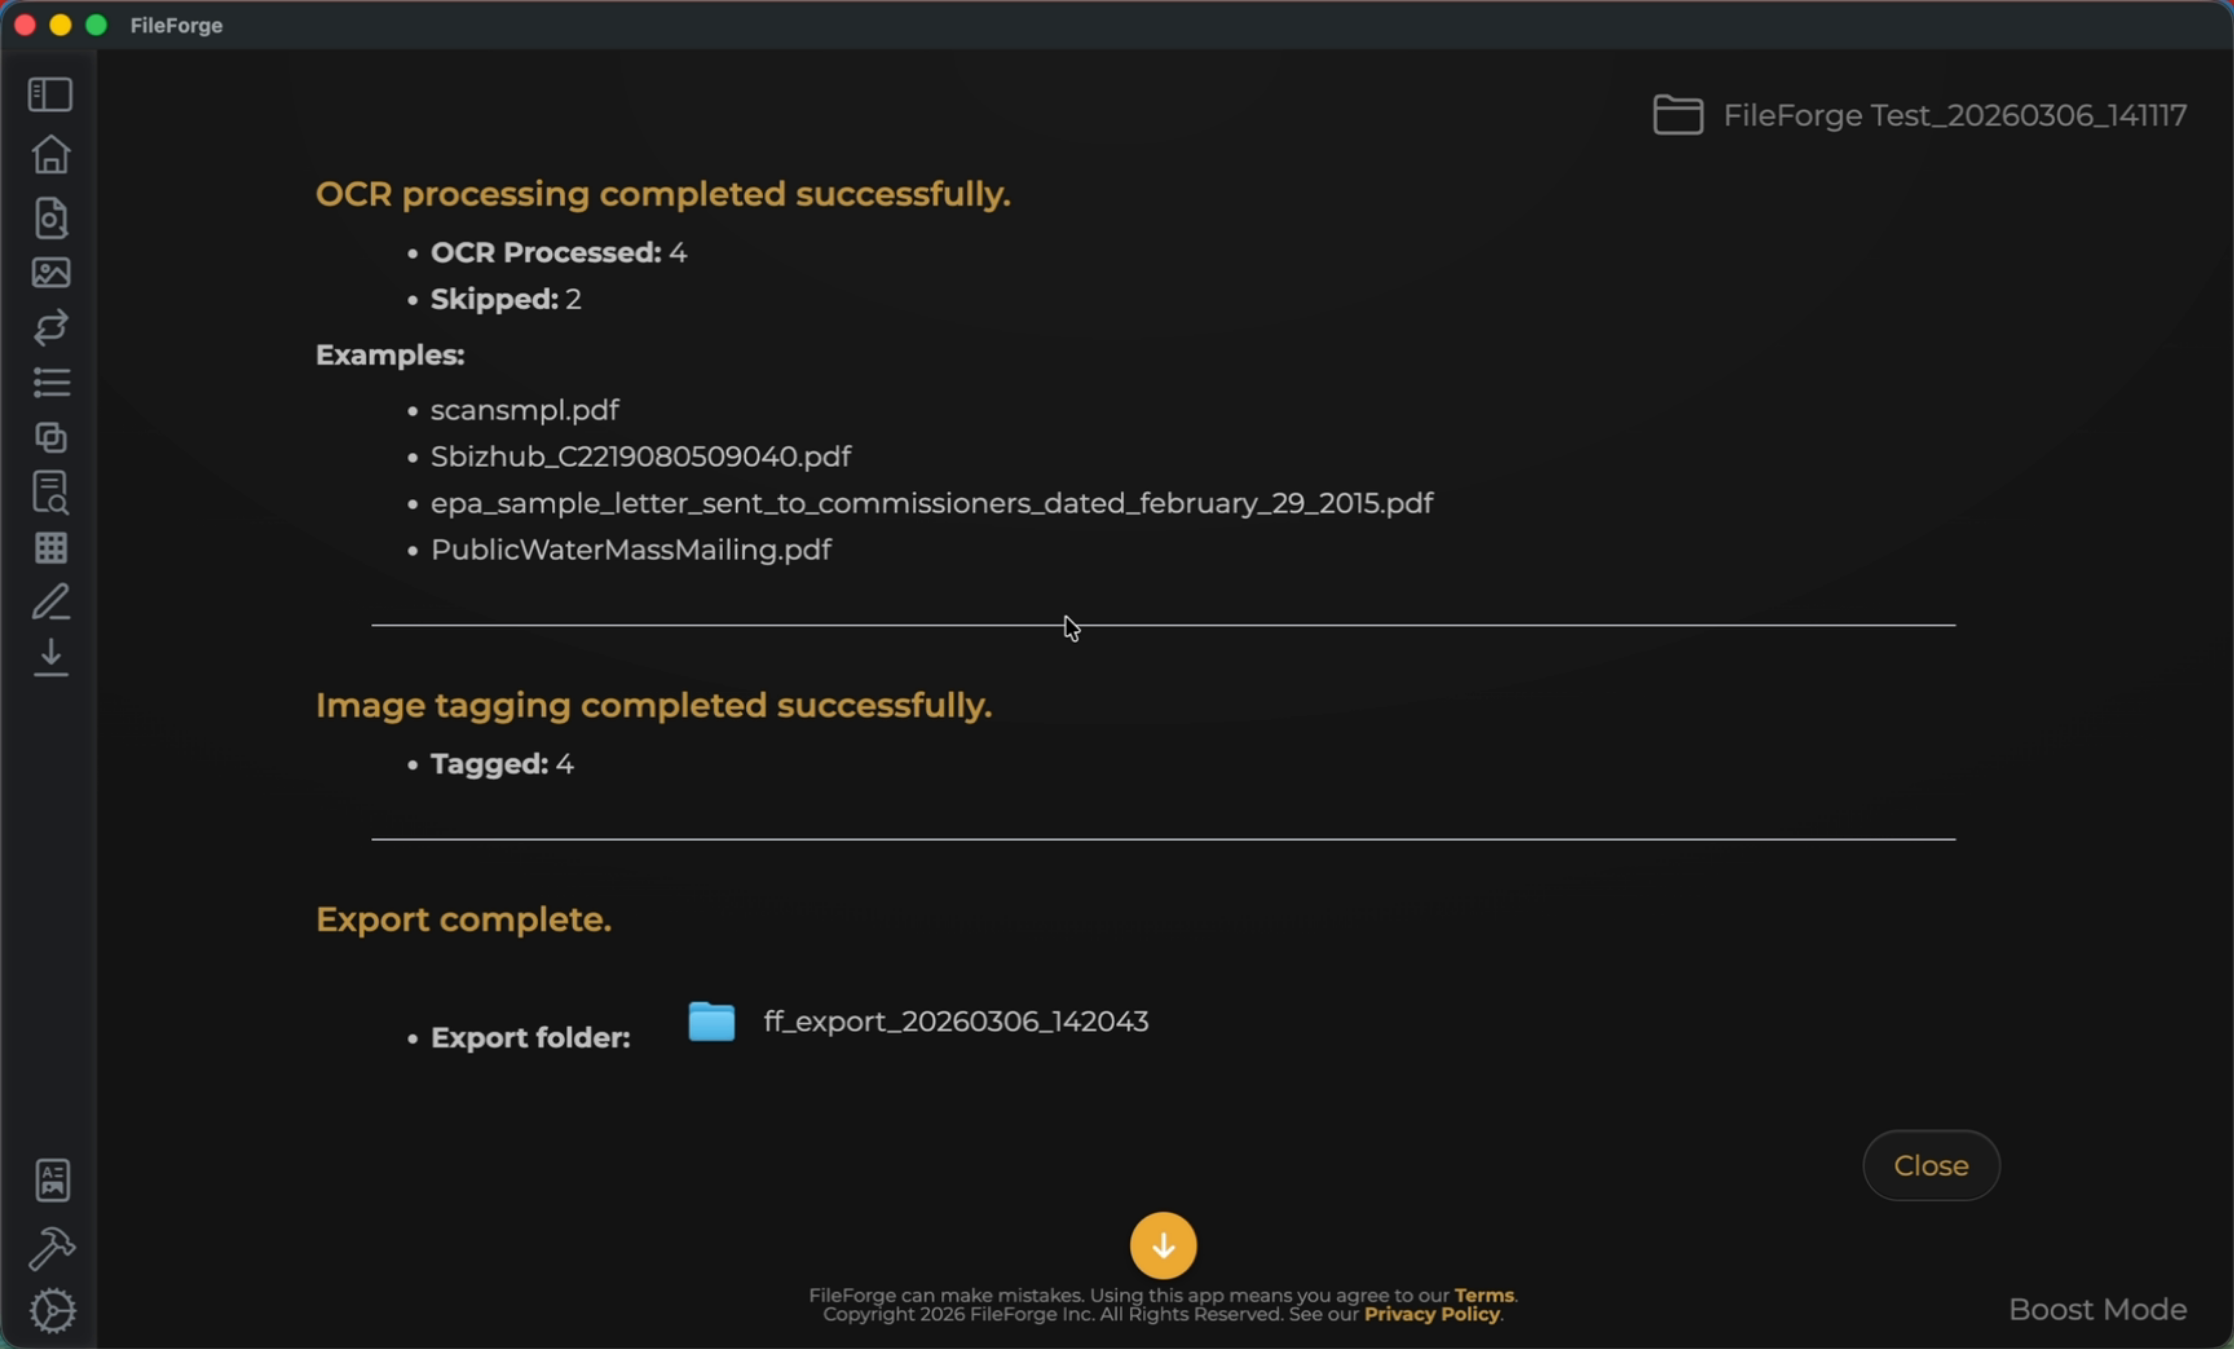
11. Access Exported File
View the file by selecting your export folder. This file can now be uploaded to your AI system.
You have successfully created and run a workflow in FileForge that makes PDFs and images searchable and exports the data for AI use. You can explore customizing workflows further or exporting files for other AI providers.