To get started, ensure you are on the leverage tab, then select tabulate content.

Use the prompt input box to instruct the system on how you want your content to be tabulated into a CSV format. The example prompt says, create tabulated content of all my image files with the following columns. I want a column for file path, one for file name, one for file description, and date created. Once you're happy with your prompt, you can go ahead and send this off. Similar to all other file Forge functions, it will give you a preview of the action it's going to take before you proceed.

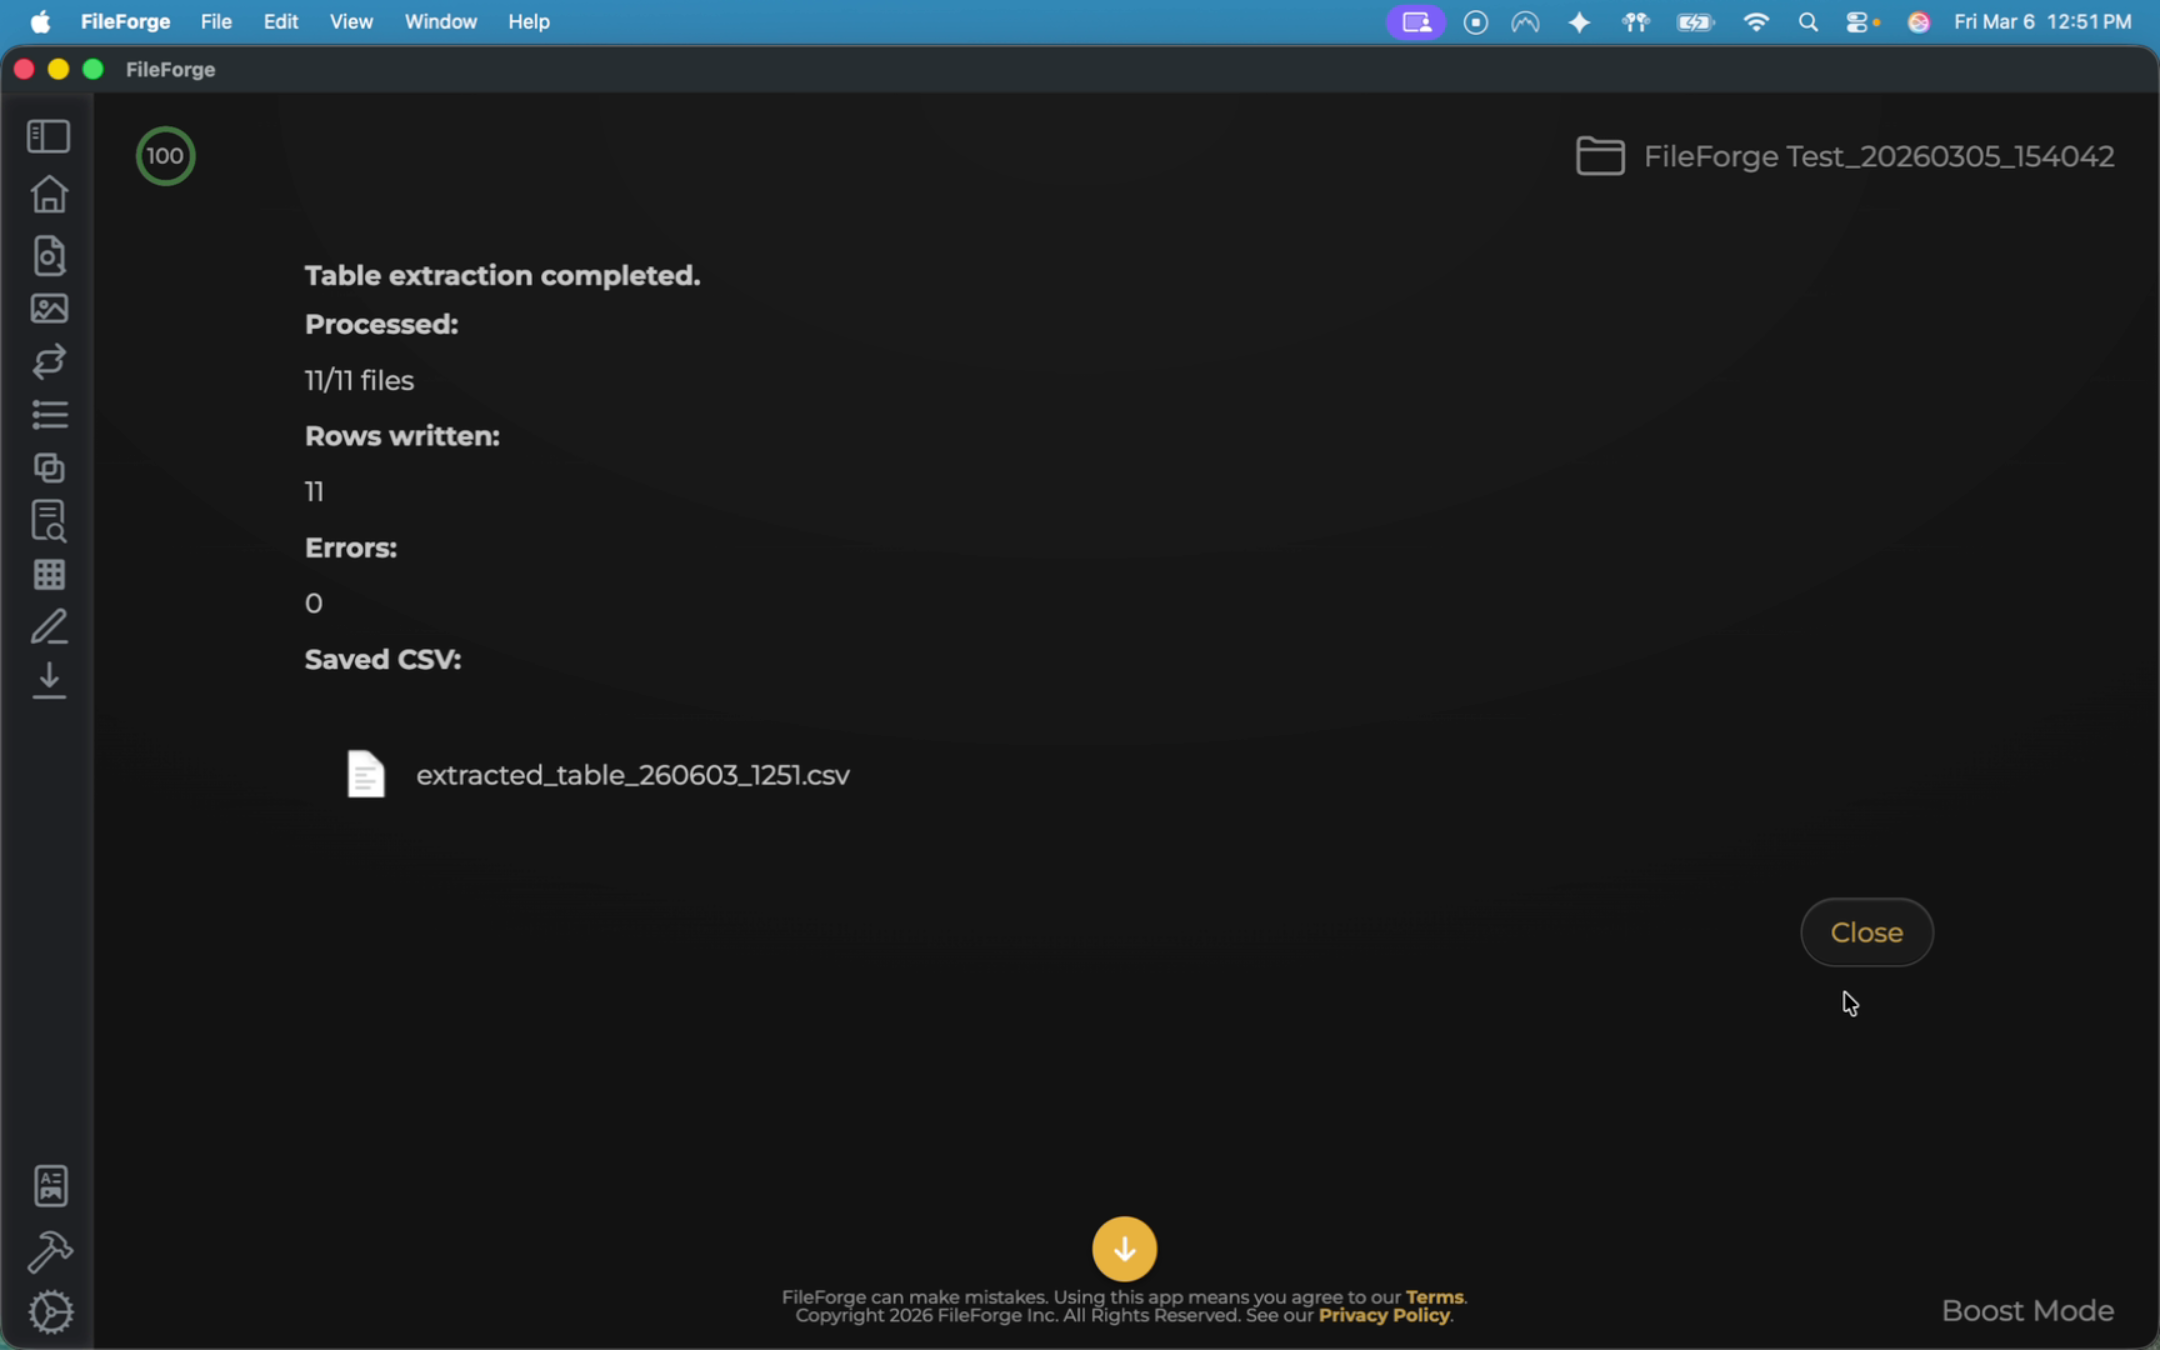
Once that is done, it will let you know how many rows were written or any errors. In this instance, we had 11 rows created with zero errors and a CSV file created.
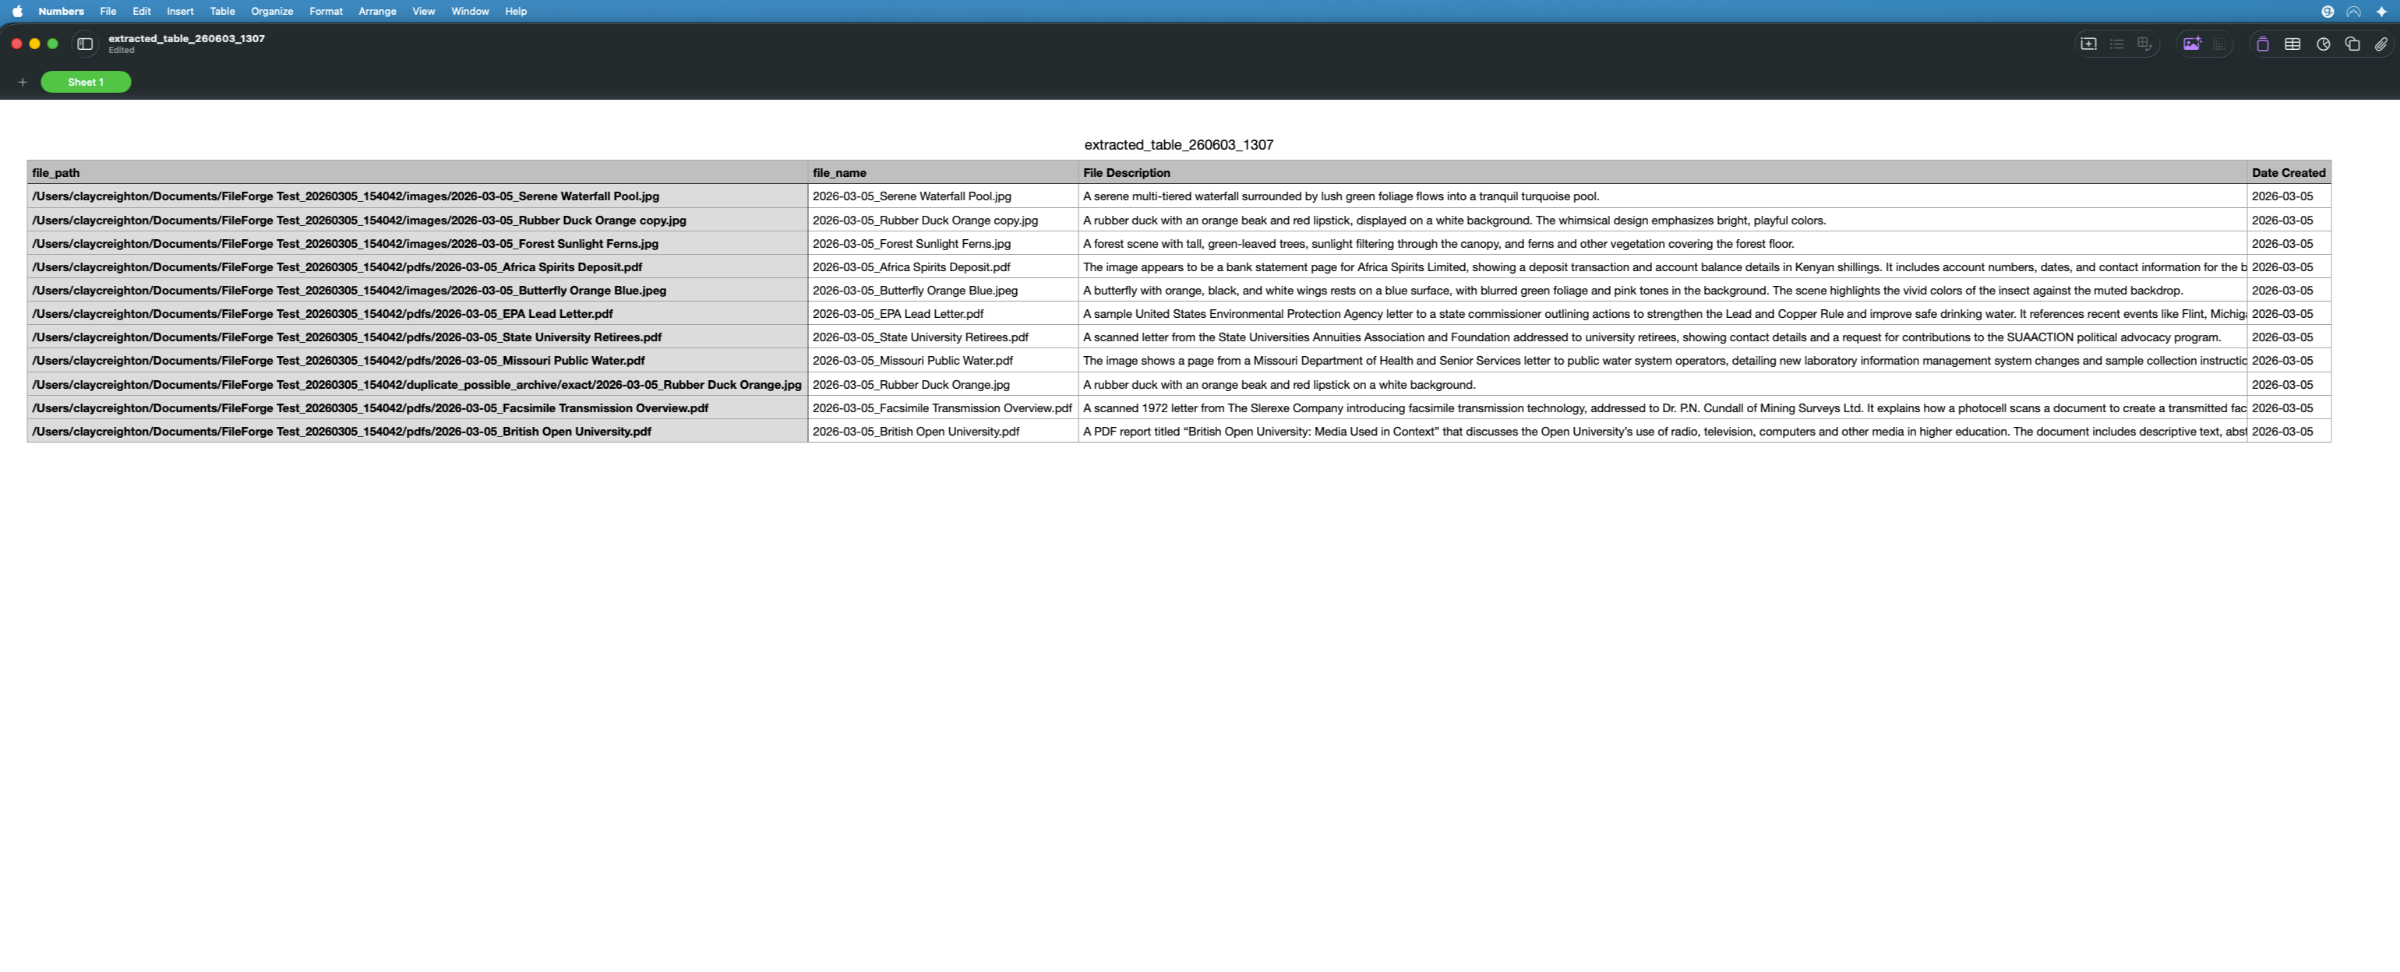
You can view the CSV file to confirm it includes the correct data: file path, file name, file description, and date created.