If you try to drag your local files into your AI, it will often provide a message saying it can only add up to certain file or size limits. This type of message is persistent across most AI systems.

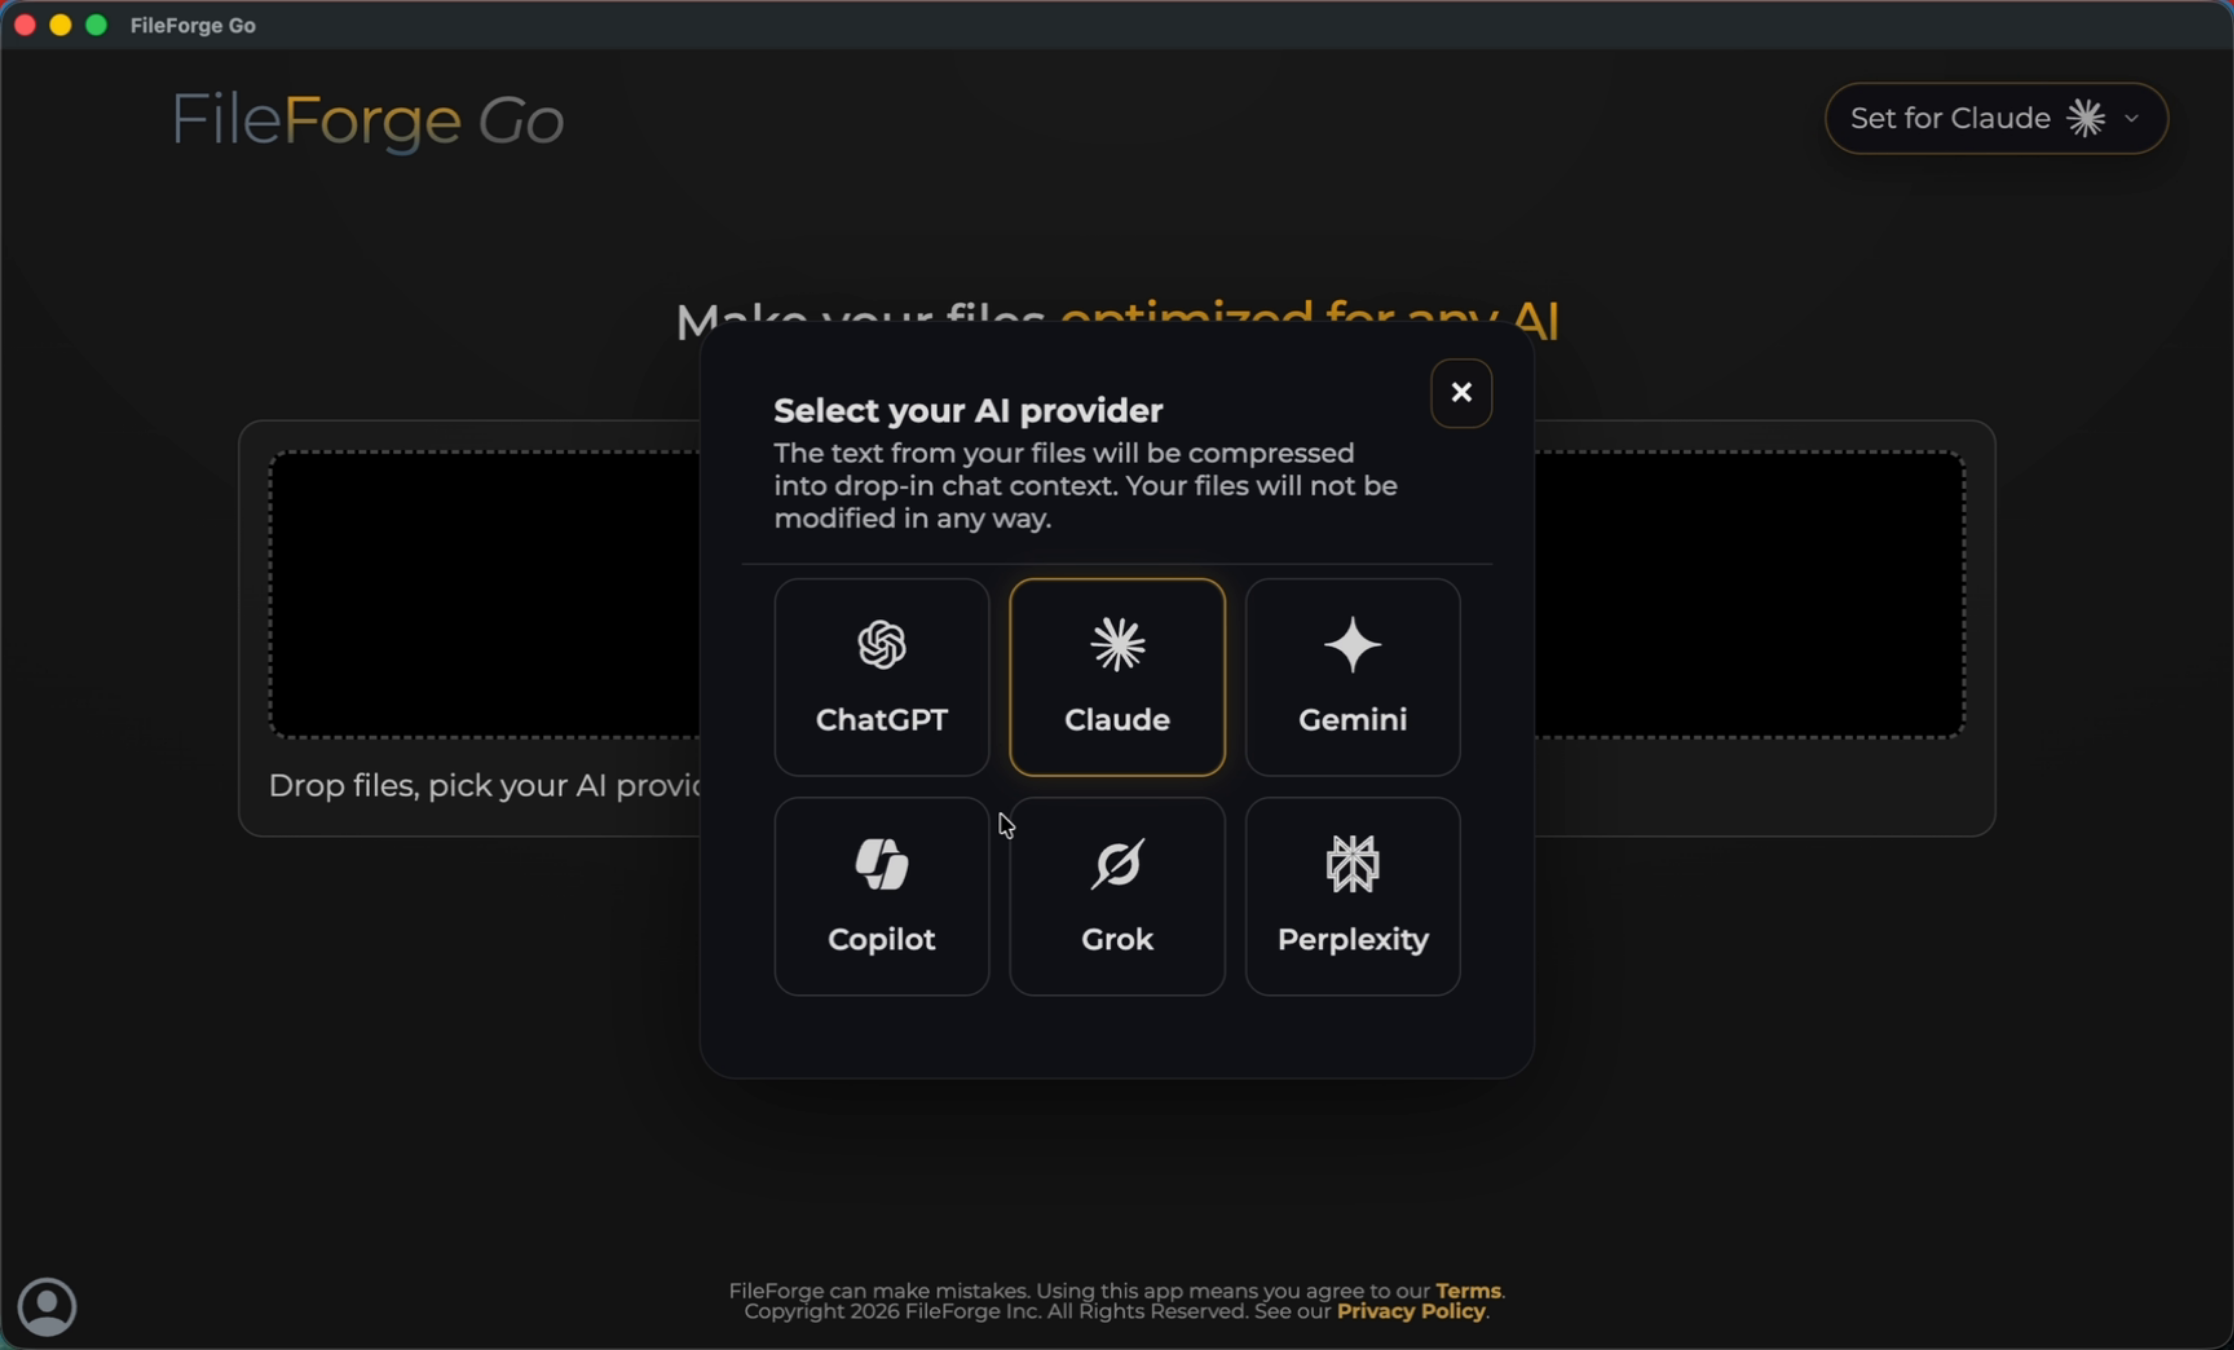
Whenever you use FileForge Go, start by selecting the AI provider that you're looking to export data for. You can do that by selecting the icon in the top right, which will provide you with a list of supported AI providers. All of the top providers are listed here.
Then drag your local files directly into FileForge.

It's really as simple as dragging and dropping your compressed file from FileForge over to your AI system and then begin prompting.
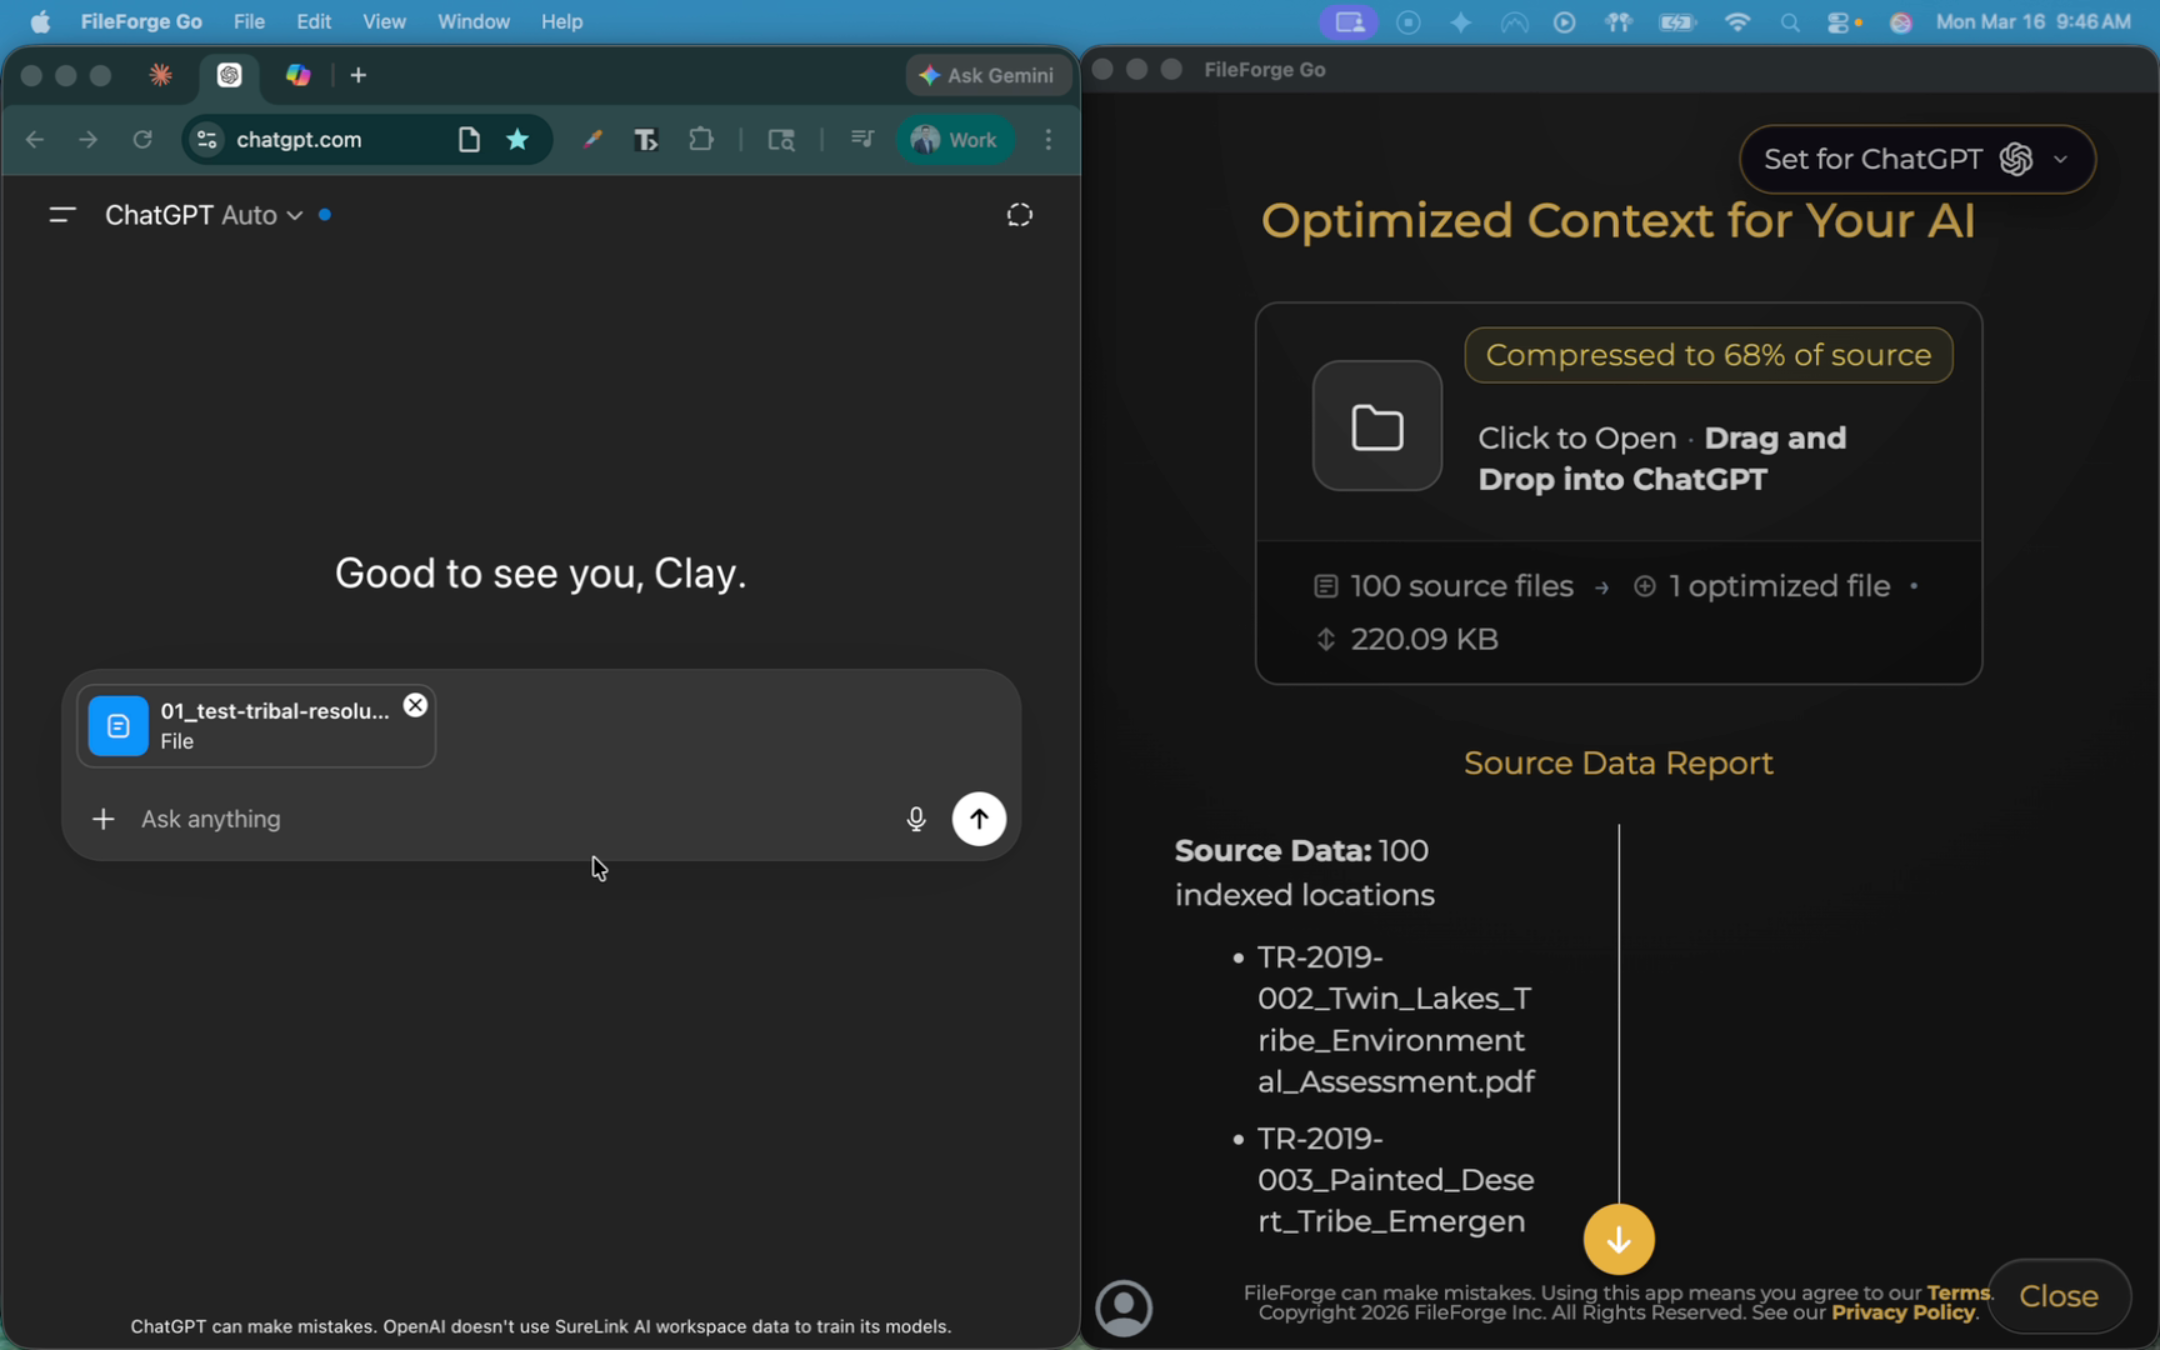
In this example, you can see the AI system is now able to read from our 100 source files.

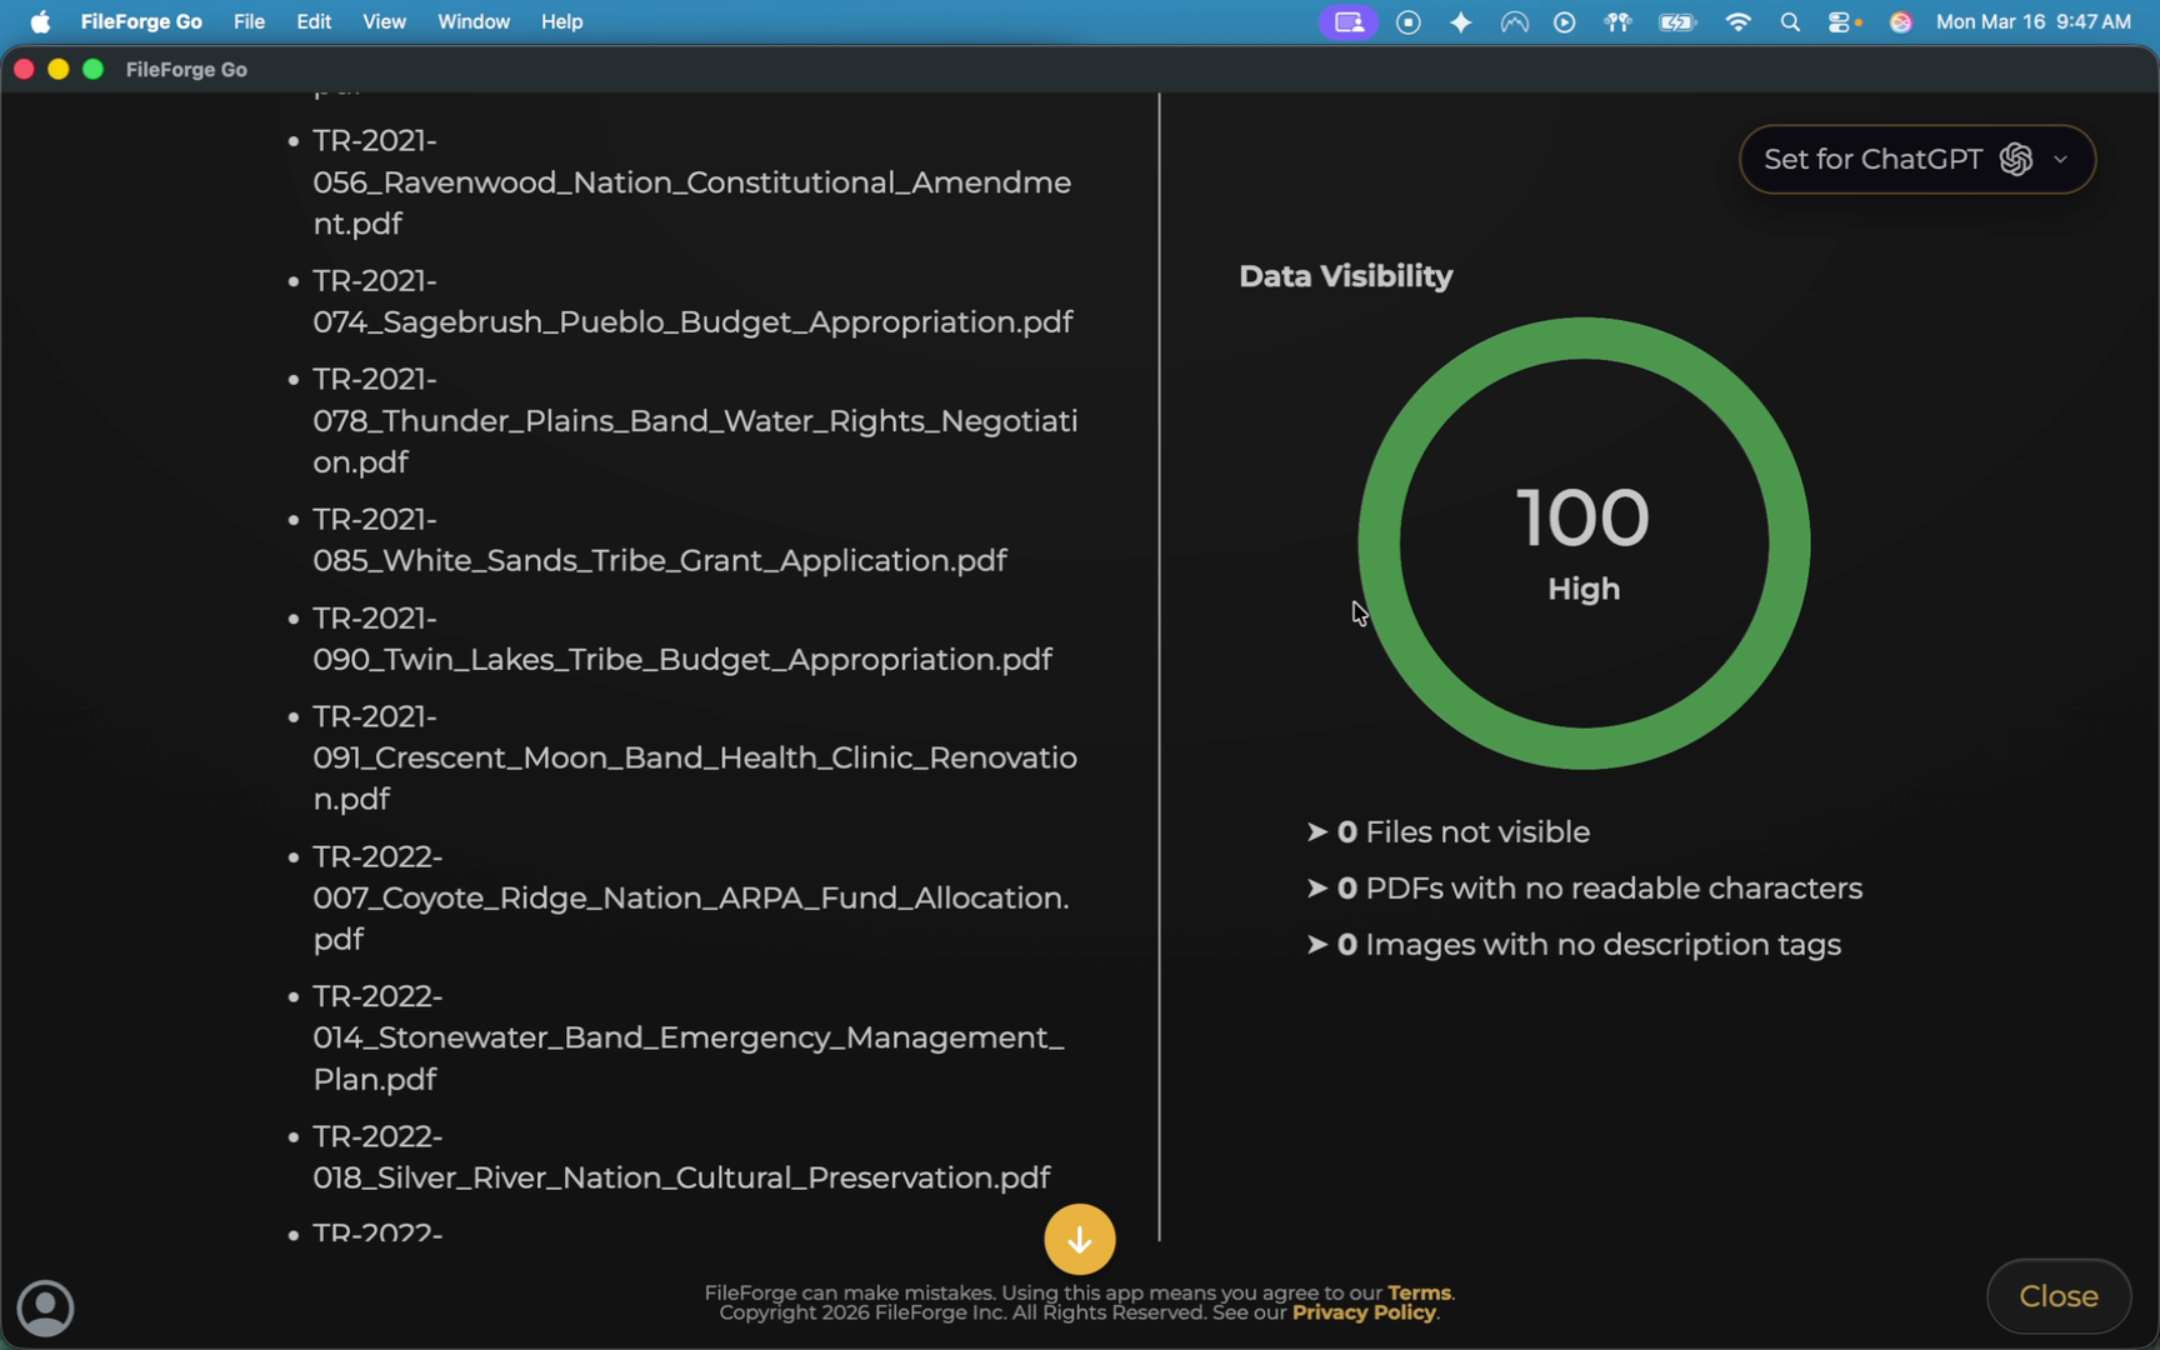
In addition to your compressed export file, you can also view your data visibility score which is rated from 1 - 100.
You can click to learn more to see how to utilize FileForge Pro to make files more visible. FileForge Pro is great for converting scanned PDFs, images, and hand written notes into readable to data.

